Soap Making Supplies

.jpg?sw=324&sh=324&sm=fit)
Supplies for Making Homemade Soap
Our collection of soap making supplies is a treasure trove for crafting enthusiasts and artisans passionate about DIY soap creations. Our range of high-quality materials and tools caters to both beginners and experienced soap makers, providing everything necessary to create amazing homemade soap.
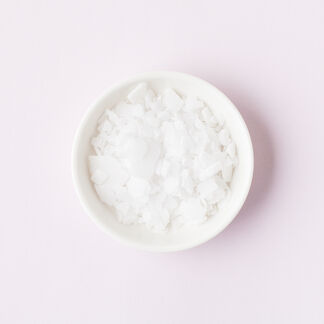
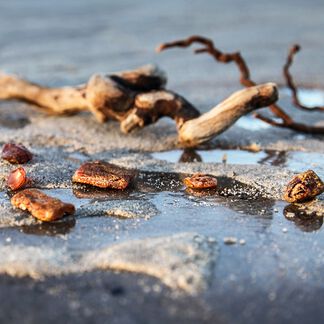
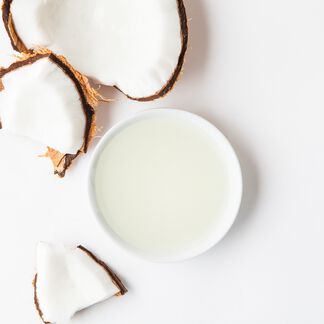
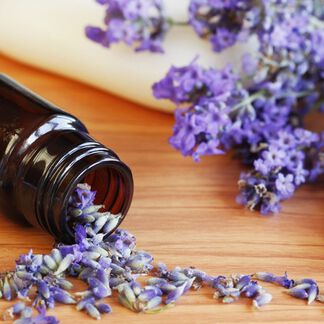
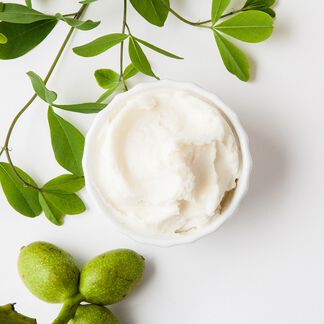
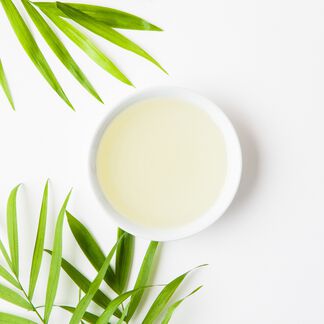
Creating your signature soap starts with premium ingredients. We offer top-notch oils and butters for soap making, such as olive oil, coconut oil, shea butter, and essential oils that will enrich your soap with luxurious properties. Choose from our array of natural additives like herbs, spices, clays, and exfoliants to add texture, color, and unique elements to your creations.
Find the ideal base for your soap, including melt-and-pour soap bases in various compositions. These ready-to-use bases are perfect for beginners, offering a hassle-free starting point for experimenting with different designs and scents. Our Quick Mixes for soap making are pre-mixed blends of soap making oils and butters that provide the right balance of conditioning, cleansing, and hardness to your finished bar of soap.
Enhance the visual appeal of your soap with our vibrant colorants, micas, and pigments. We even offer natural colorants. Add delightful scents using our wide assortment of fragrance oils and essential oils, tested to ensure that they function well in cold process soap, melt and pour soap, and more.
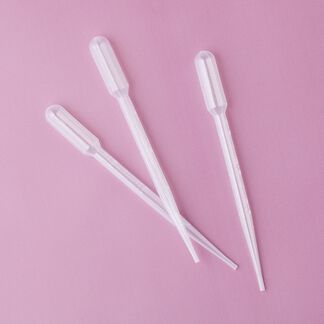
Discover molds in a range of shapes and sizes to bring your soap visions to life. From classic shapes to intricate designs, our molds cater to different preferences. We also offer a range of tools including cutters, mixers, thermometers, and scales to ensure precision and ease throughout the soap making process.
Perfect the presentation of your homemade soaps with our selection of packaging materials. Explore options such as elegant boxes, wraps, and labels to give your creations a professional and appealing look, perfect for gifting or personal use.
For those new to the art of soap making, we offer starter kits equipped with essential materials and step-by-step guides to jumpstart your journey. We also have a ton of online tutorials and resources created by soap makers. They provide valuable tips, techniques, and recipes to help you refine your craft.
We prioritize quality, ensuring that all our products meet the highest standards and helping you create exceptional soaps. Whether you're crafting for personal pleasure, gifting, or considering starting a small business, you’ll find what you need.
Elevate your DIY soap making experience with our selection of soap making supplies. Unleash your creativity, experiment with various combinations, and enjoy the art of crafting homemade soap.