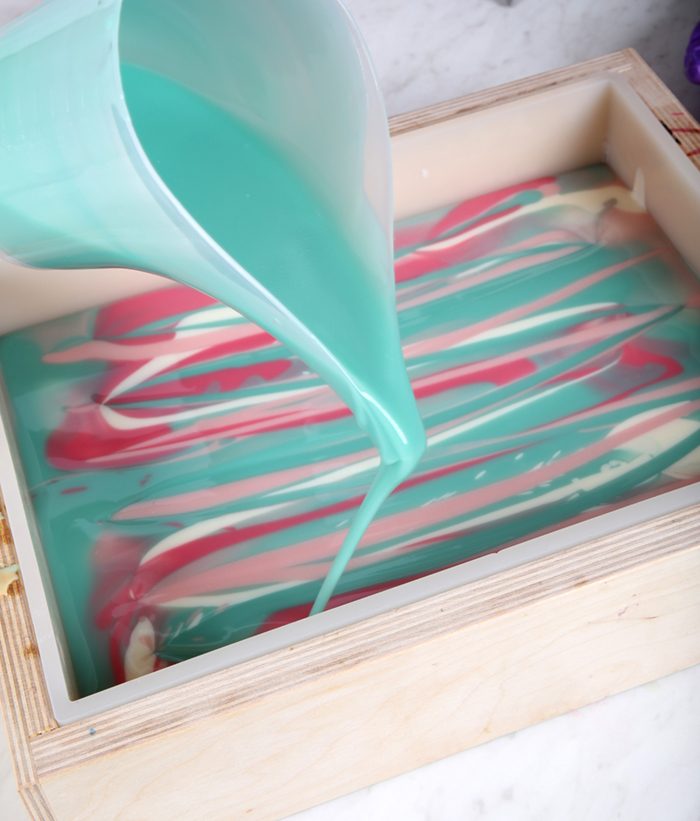
Sometimes cold process soap doesn't turn out like you planned. The good news is the more you practice, the less that will happen. Researching ingredients beforehand helps too.
For instance, certain fragrance oils can behave unpredictably in soap. This article goes over what can happen with those scents, how to work with them, and how to prevent problems in your next batch. In the video below, Anne-Marie shows you how to make a small test batch and what misbehaving soap looks like.
All Bramble Berry fragrance oils and essential oils go through a rigorous testing process. Our research and development team tests hundreds of options each year and only brings in a few.
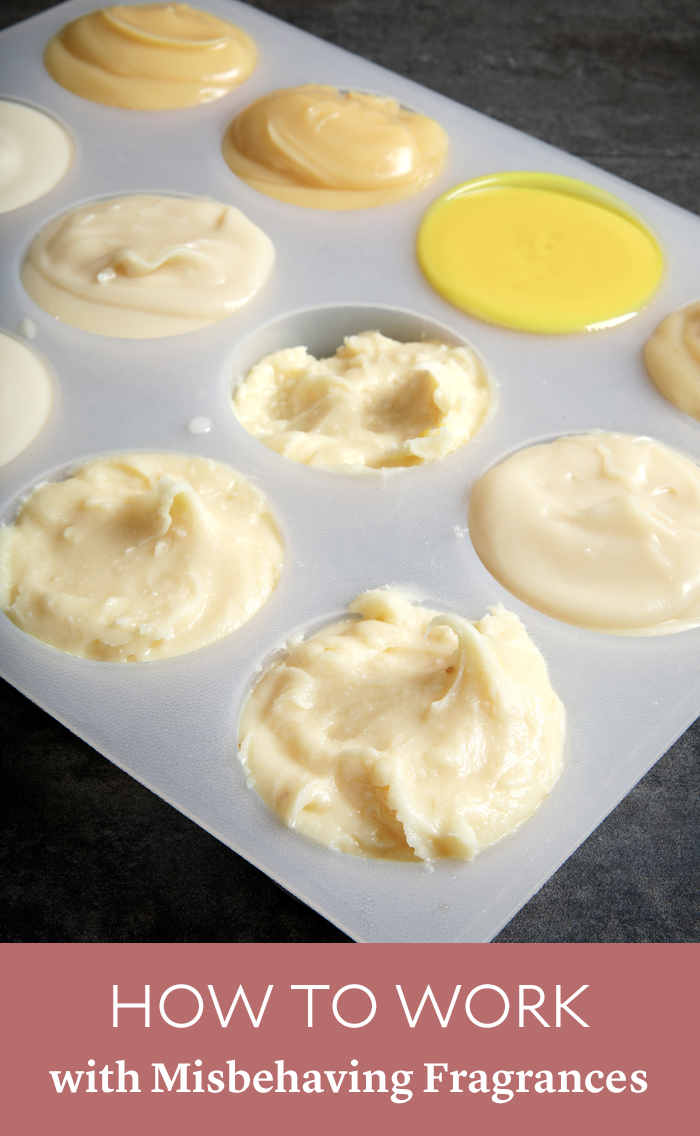
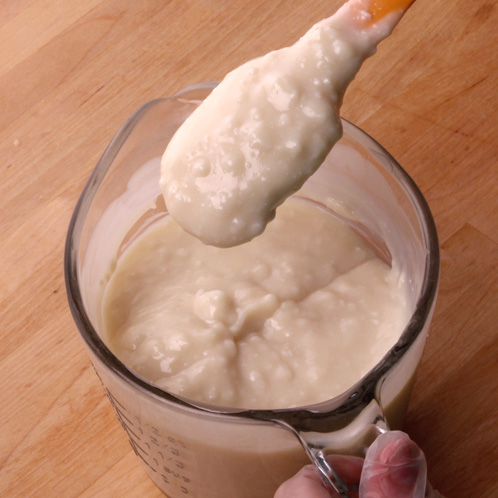
The following examples are made with fragrances that didn't make the cut because of extreme acceleration, ricing, etc. We tested them in 1 pound batches using Lots of Lather Quick Mix and 0.7 oz. of fragrance oil.
Acceleration
This causes the soap to thicken more quickly than usual. It can be mild or so extreme that the soap can turn solid in the bowl - often referred to as soap on a stick. It can also cause the soap to heat up.
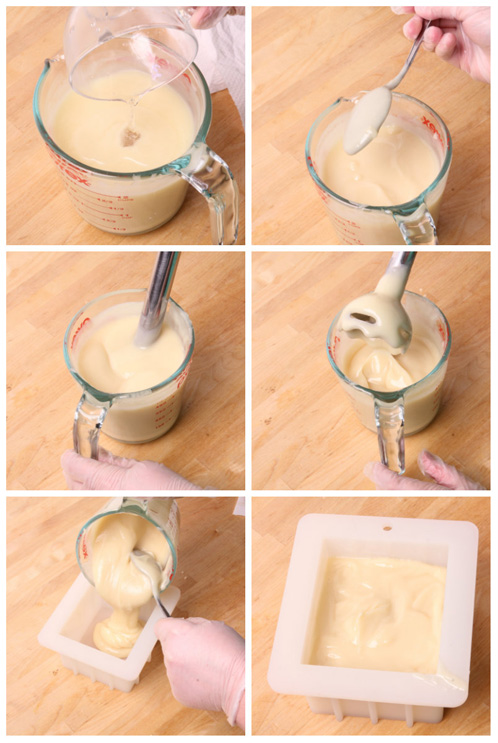
If your soap starts accelerating, stop stick blending and switch to a whisk. If you're able, add any colors and additives and continue with your planned design. If the soap is too thick for that, grab a spoon and try a layered or spoon plop design. They work well with thicker soap.
You can also just spoon the soap into the mold as quickly as possible. Tap it on the counter frequently to get rid of bubbles.
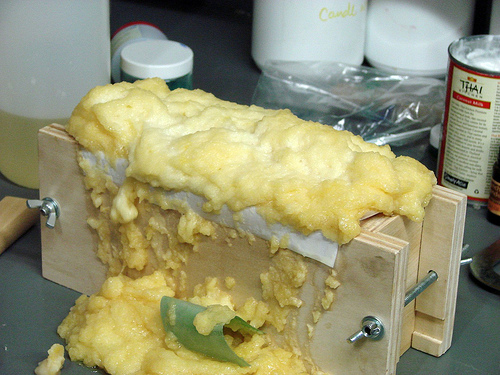
Seizing
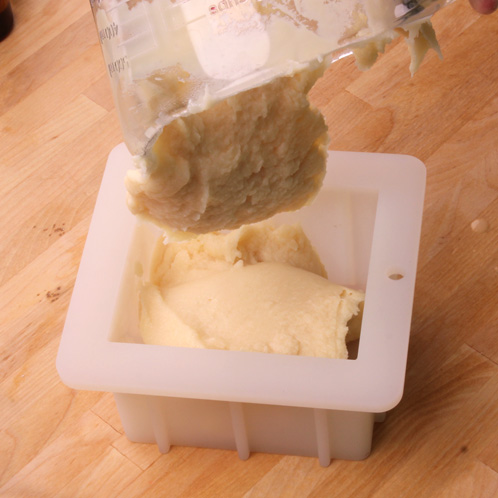
This is the soap on a stick referred to above. It's when the soap accelerates so quickly it turns solid.
If you're able, try and get it into a mold. If not, don't worry - you can save the batch using a technique called "hot process hero." It works up to 24 hours after you make the soap.
- With safety gear on, pour the soap into a stainless steel pot. It needs to be three times bigger than your batch because the mixture will expand.
- Put the pot on the stove and turn it to medium.
- Stir the mixture until it starts to liquefy. If necessary, turn the heat down to prevent oil splatter. Once that's under control, put it back on medium.
- When the batch is emulsified and fully consistent in texture and color, spoon it into a heat-safe mold.
- Let the soap harden for 24 hours. It's ready to use right away, but we recommend a 4-6 week cure time for the best results.
If it's been more than 24 hours, you can let the soap harden and rebatch it. See how to do that technique in the Wildflower Rebatch Soap Project.
Overheating
Certain fragrances can cause the soap to heat up, which can also cause acceleration. In extreme cases your recipe can start to bubble out of the mold - this is called a soap volcano.
Be prepared to work quickly if you notice your soap getting hot. If you planned to force your soap into gel phase, you may want to leave it at room temperature instead so it doesn't overheat. That can cause cracking or an uneven texture on top called alien brain.
If it's super hot, put it in the freezer for 24 hours. If it's coming out of the mold, wait until it starts to deflate. Then, put on heavy duty gloves and scoop it back in very carefully. You can also wait until it cools and use the hot process technique.
Ricing
When an ingredient in the fragrance binds with some of the harder oil components in the recipe, it can form little rice-shaped lumps.
Usually, you can stick blend the soap to smooth out the ricing. It will make it quite thick, so you may have to skip your planned design and get it into the mold with a spoon.
Separation
This is when the fragrance prevents emulsification and causes oil to pool on top.
You can try stick blending to see if you can get the soap to emulsify, although it may seize. This is a good time for the hot process technique.
Other performance issues
Some fragrances may not affect the way the soap performs, but they can change things afterward. For instance, some fragrances turn your soap brown or cause soda ash. Make sure to read the performance notes on the fragrance pages before getting started, and learn more about working with discoloration in this article and preventing soda ash in this article.
Tips for the next batch
If you're in love with a certain fragrance and the performance issues aren't too extreme, you can definitely use them again with these tips.
- Always make a small test batch first! That way you can see how the fragrance performs and adjust your recipe if necessary.
- Use recipes with a large percentage of oils that are liquid at room temperature (soft oils). They give you more time to work. Learn more about formulating cold process recipes here.
- Use the full amount of water recommended by the Lye Calculator instead of using a water discount. That prevents acceleration.
- Lower your temperatures to around 105-115°F. Higher temperatures can cause acceleration or overheating.
- Mix the fragrance oil with an equal amount of liquid oil from your batch and microwave it for about 20 seconds. Add the heated oil at trace. That way the fragrance isn't cold when it's added, which can give you more time to work.
- Add all your colorants and additives first, then add the fragrance at the last second and get the soap into the mold.
- Once the soap reaches trace, use a whisk to mix in colorants, additives, and fragrances. The stick blender can cause it to thicken more quickly.