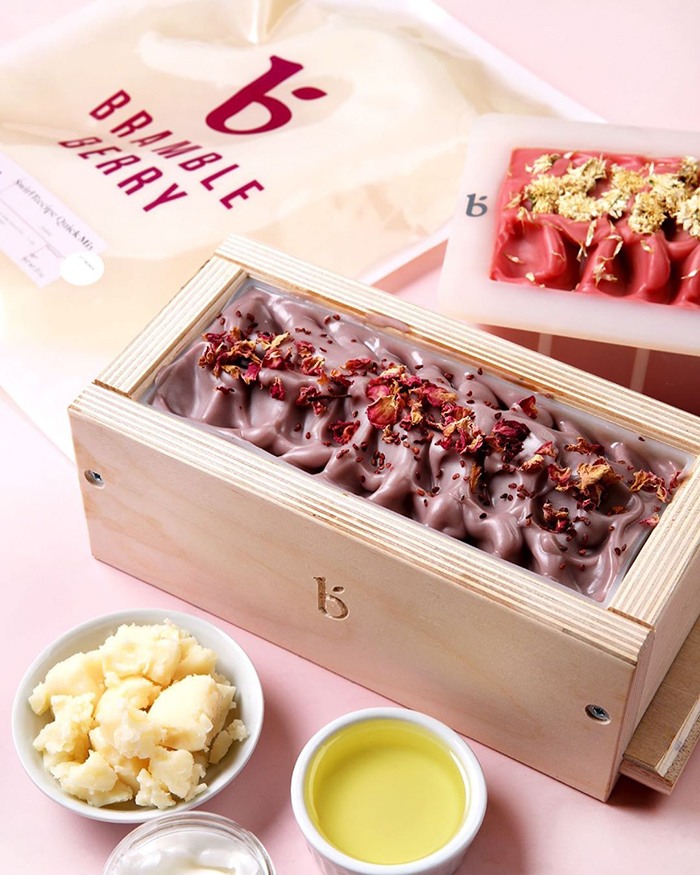
Temperature plays a very important part in soap making. It can affect the trace, color, texture, and scent of your final bars. Insulating your batch makes the colors brighter and allows you to unmold it more quickly. Learn more about that technique below.
The basics
Insulating soap promotes gel phase. That’s a part of the saponification process where the soap gets hot – up to 180° F. It doesn’t affect the quality of the final bars, but it does affect the way they look. Learn more in the All About Gel Phase article.
To force gel phase, your lye and oils need to be around 120-130° F. Once the soap is in the mold, you can insulate it. There are a few ways to do that. First, put the soap in a drawer or place a box over the top. You can also bend a piece of cardboard and place it over the mold to protect the top, then cover it with a towel or blanket. Another option is to place it on a heating pad set to medium for 30-60 minutes. Turn the heating pad off and leave the mold on overnight.
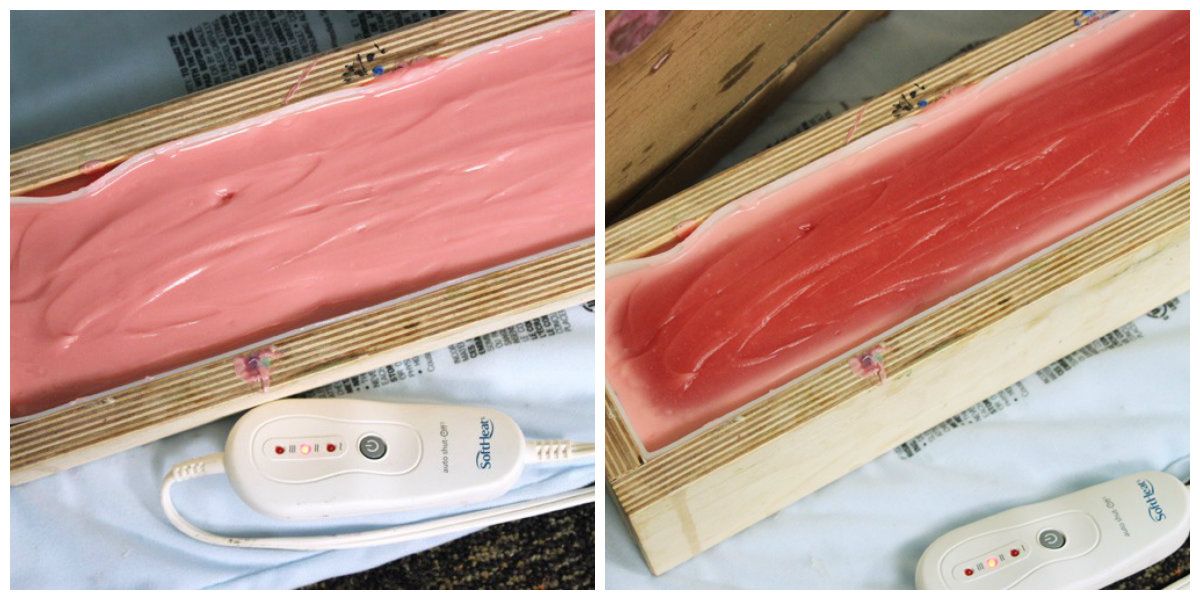
On the right, the soap is going through gel phase.
When to insulate
Gel phase has a few advantages. It helps the colors pop and gives the bars a slightly shiny look. You can typically unmold the soap more quickly. Gelled bars are also less likely to have soda ash.
If you want to try it, there are a few factors to consider. The first is the mold you plan to use. We recommend using loaf molds because they hold heat better than individual cavity molds. Fragrance is something else to consider - certain options, especially spicy ones like cinnamon essential oil, tend to heat the soap up. You may want to avoid them until you know how they interact with your recipe and your insulation method.
Once you're ready to make soap, you want your oils and lye water to be around 120-130° F. Lower temperatures may not reach gel phase as easily. The final factor to consider is the temperature of your soap making space. If it's really cold, you may need to cover the mold with a towel and put it on a heating pad. If it's really warm, you may not need any insulation to force gel phase.
If you're new to this, start out with just placing a box over the soap. Wait 30 minutes and then check on it - if the mold feels warm to the touch or you can see that gelatinous appearance, your soap is going through gel phase. Pop the box back on and let it sit overnight. If the mold feels cooler or you don't see any gelling, add a towel and possibly a heating pad.
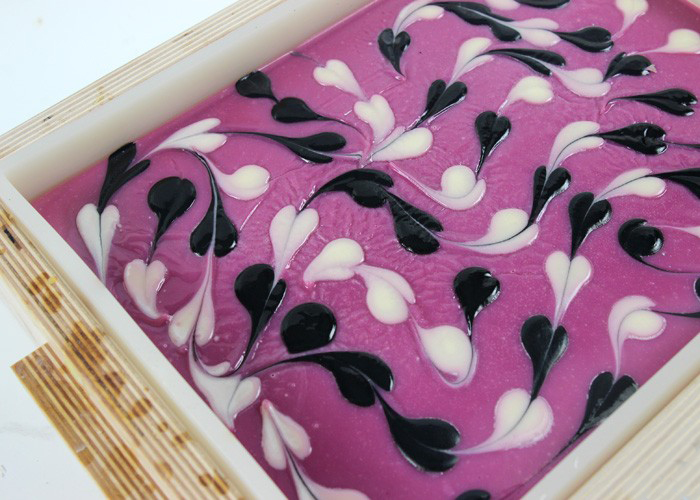
If the soap has a wrinkly texture on top or it looks like it's rising out of the mold, it's overheating. Take the box off and place the mold in the freezer to cool it quickly. Overheating can affect the appearance of the soap, as pictured below, and it can cause a brittle texture.
The more you work with soap, the easier it will be to tell when you need to insulate. Just keep practicing!
When not to insulate
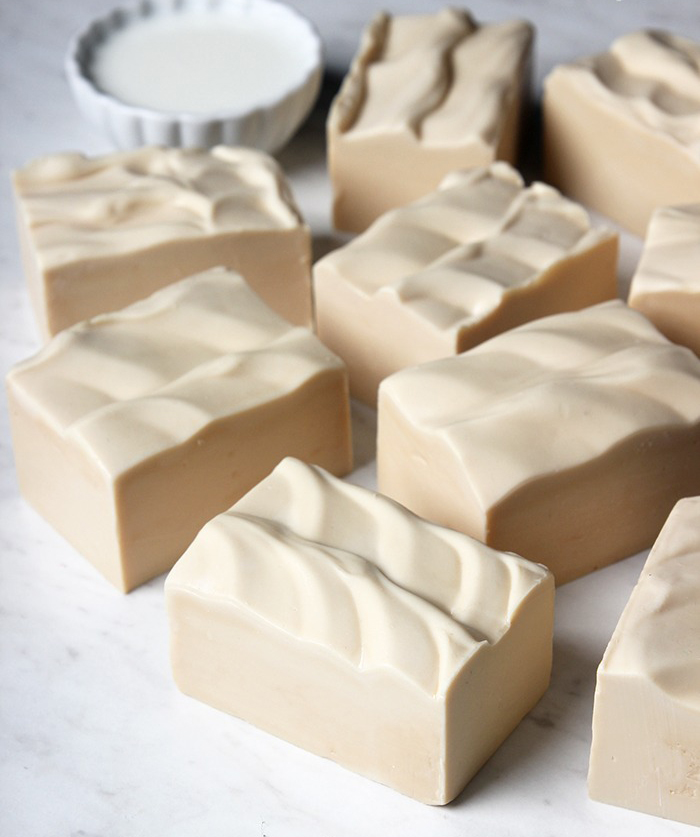
If you prefer the more pastel look of ungelled soap, you can skip insulating it. Another reason is if your recipe has embeds made with melt and pour, because they can sweat or morph if the soap gets too hot.
We also recommend skipping it if you're using certain additives in your recipe. For example, anything with natural sugar like fruit or honey can cause your soap to overheat. Instead, we recommend placing it in the freezer for 5-24 hours to make sure it doesn't crack or volcano out of the mold.
The same goes for soap made with milk. Scorched milk creates an unpleasant scent and can change the color of your bars from white to yellow. Check out the How to Add Milk to Soap article for more information.
Whether you insulate your batch comes down to personal preference. As with all things soap, it's best to try both options and see which one you like best! Find supplies to get started here.
