London with Particle Goods started making candles in 2017. She loves scent's link to memories and emotions. Learn more about how she got started in this interview. Over the next month, London will be sharing her creative energy and soy wax expertise with you! She designed several candle projects for Bramble Berry and she'll be featured in upcoming videos. She's also collaborating with our creative team to bring you even more projects in the future.
In this article, London breaks down how to make soy wax candles from start to finish. Learn more about choosing a wick, adding fragrance, what temperatures work best, and what tools you need. With her tips, you'll be an expert in no time!
Find everything you need to make soy wax candles here.
Why soy wax?
Soy would be considered a vegan wax, where it does not derive from a living insect or animal. It's made from renewable soybeans, and US-grown soy has a strong sustainable footprint. Soy produces 90% less soot than paraffin wax, and does not emit chemicals like toluene, benzene, methyl ethyl ketone, or naphthalene. It burns clean, doesn’t have an aroma on its own like beeswax, and won’t leave black soot on the walls or upholstery. Soy wax is less costly than beeswax to produce and is water soluble, which makes cleanup a breeze.
Soy is an affordable and beginner-friendly wax. With natural ingredients/products in high demand, soy is familiar to the market and well sought out. While fragrance tends to be more subtle in a soy candle, it still holds scent well and produces less soot than other wax types. Features to look for in soy wax would be a high fragrance load capability (10%+), good glass adhesion, and a strong cold and hot throw. If you’re worried about environmental impact, look for US grown non-GMO.
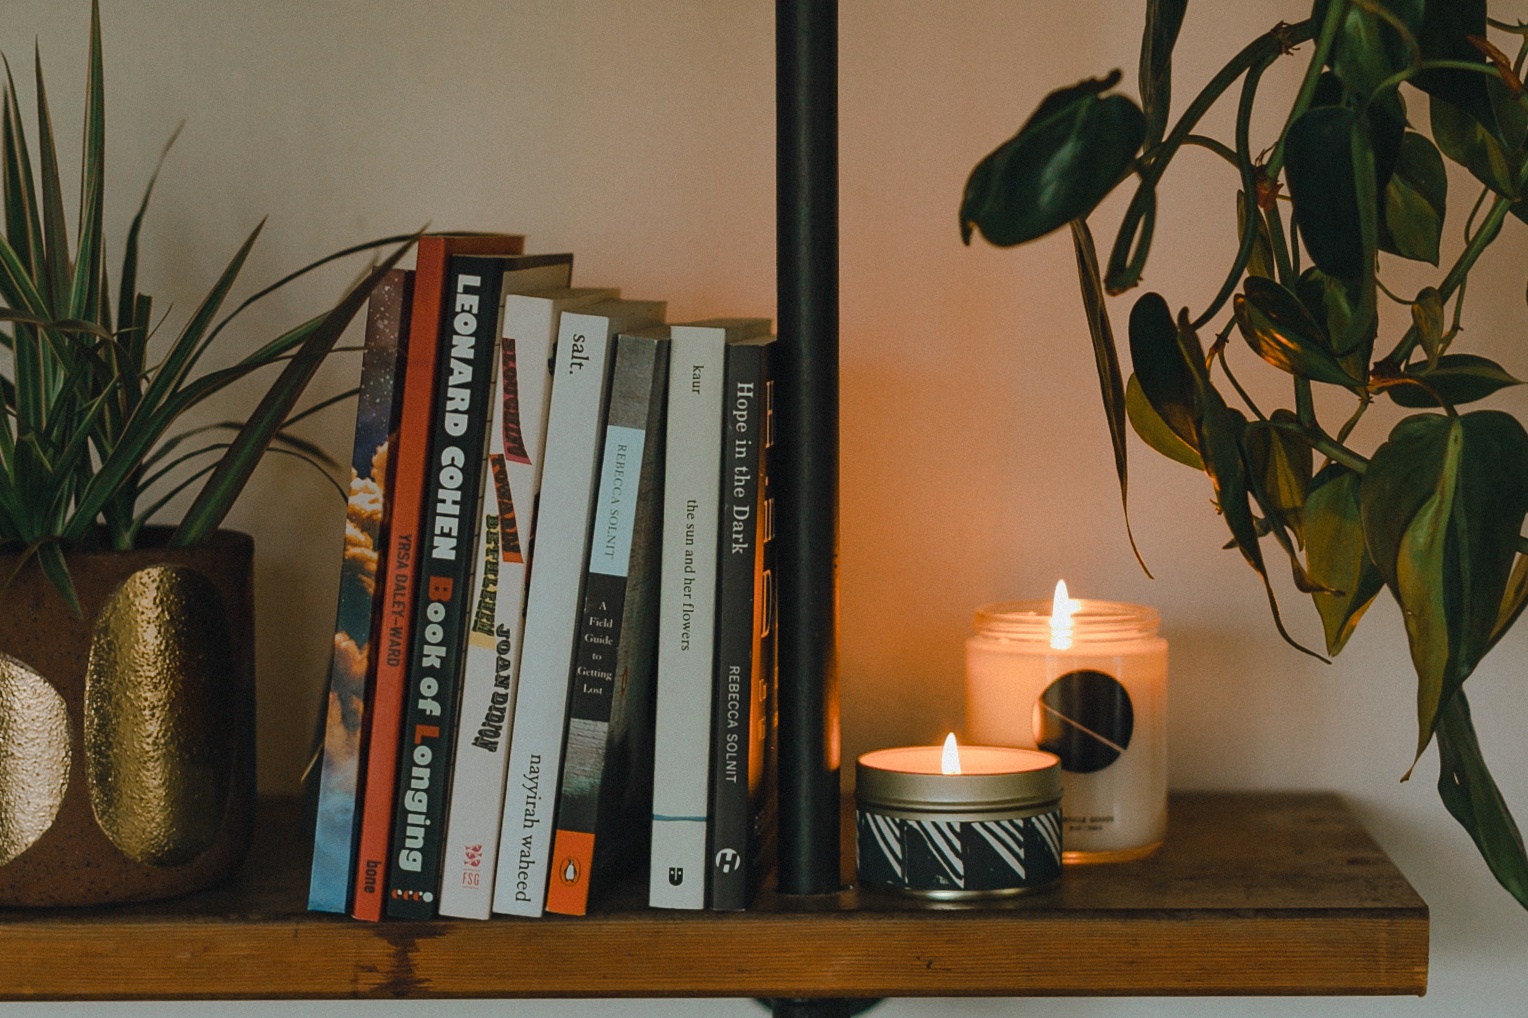
Choosing your candle container
Soy burns hot, so your container needs to withstand high temperatures. Glass, ceramic, and metal are all suitable for candle making. Glass with a heavier bottom and even walls will hold in heat and likely give you better adhesion because it will cool evenly. Plastic is not recommended, as it can melt and release chemicals into the air, or cause a fire. Wood and raw clay containers such as terra cotta are too porous and would not be suitable for candles. For more on why we love container candles, check out 7 Reasons to Choose Container Candles.
Choosing your candle wick
Wood wicks, cotton core wicks, and paper core wicks all work well for soy container candles. Use the manufacturer's suggestions for the size, and then test it to make sure it burns well. For help choosing a wick, check out How To Pick Candle Wicks For Homemade Candles and our Candle Wick Size Guide.
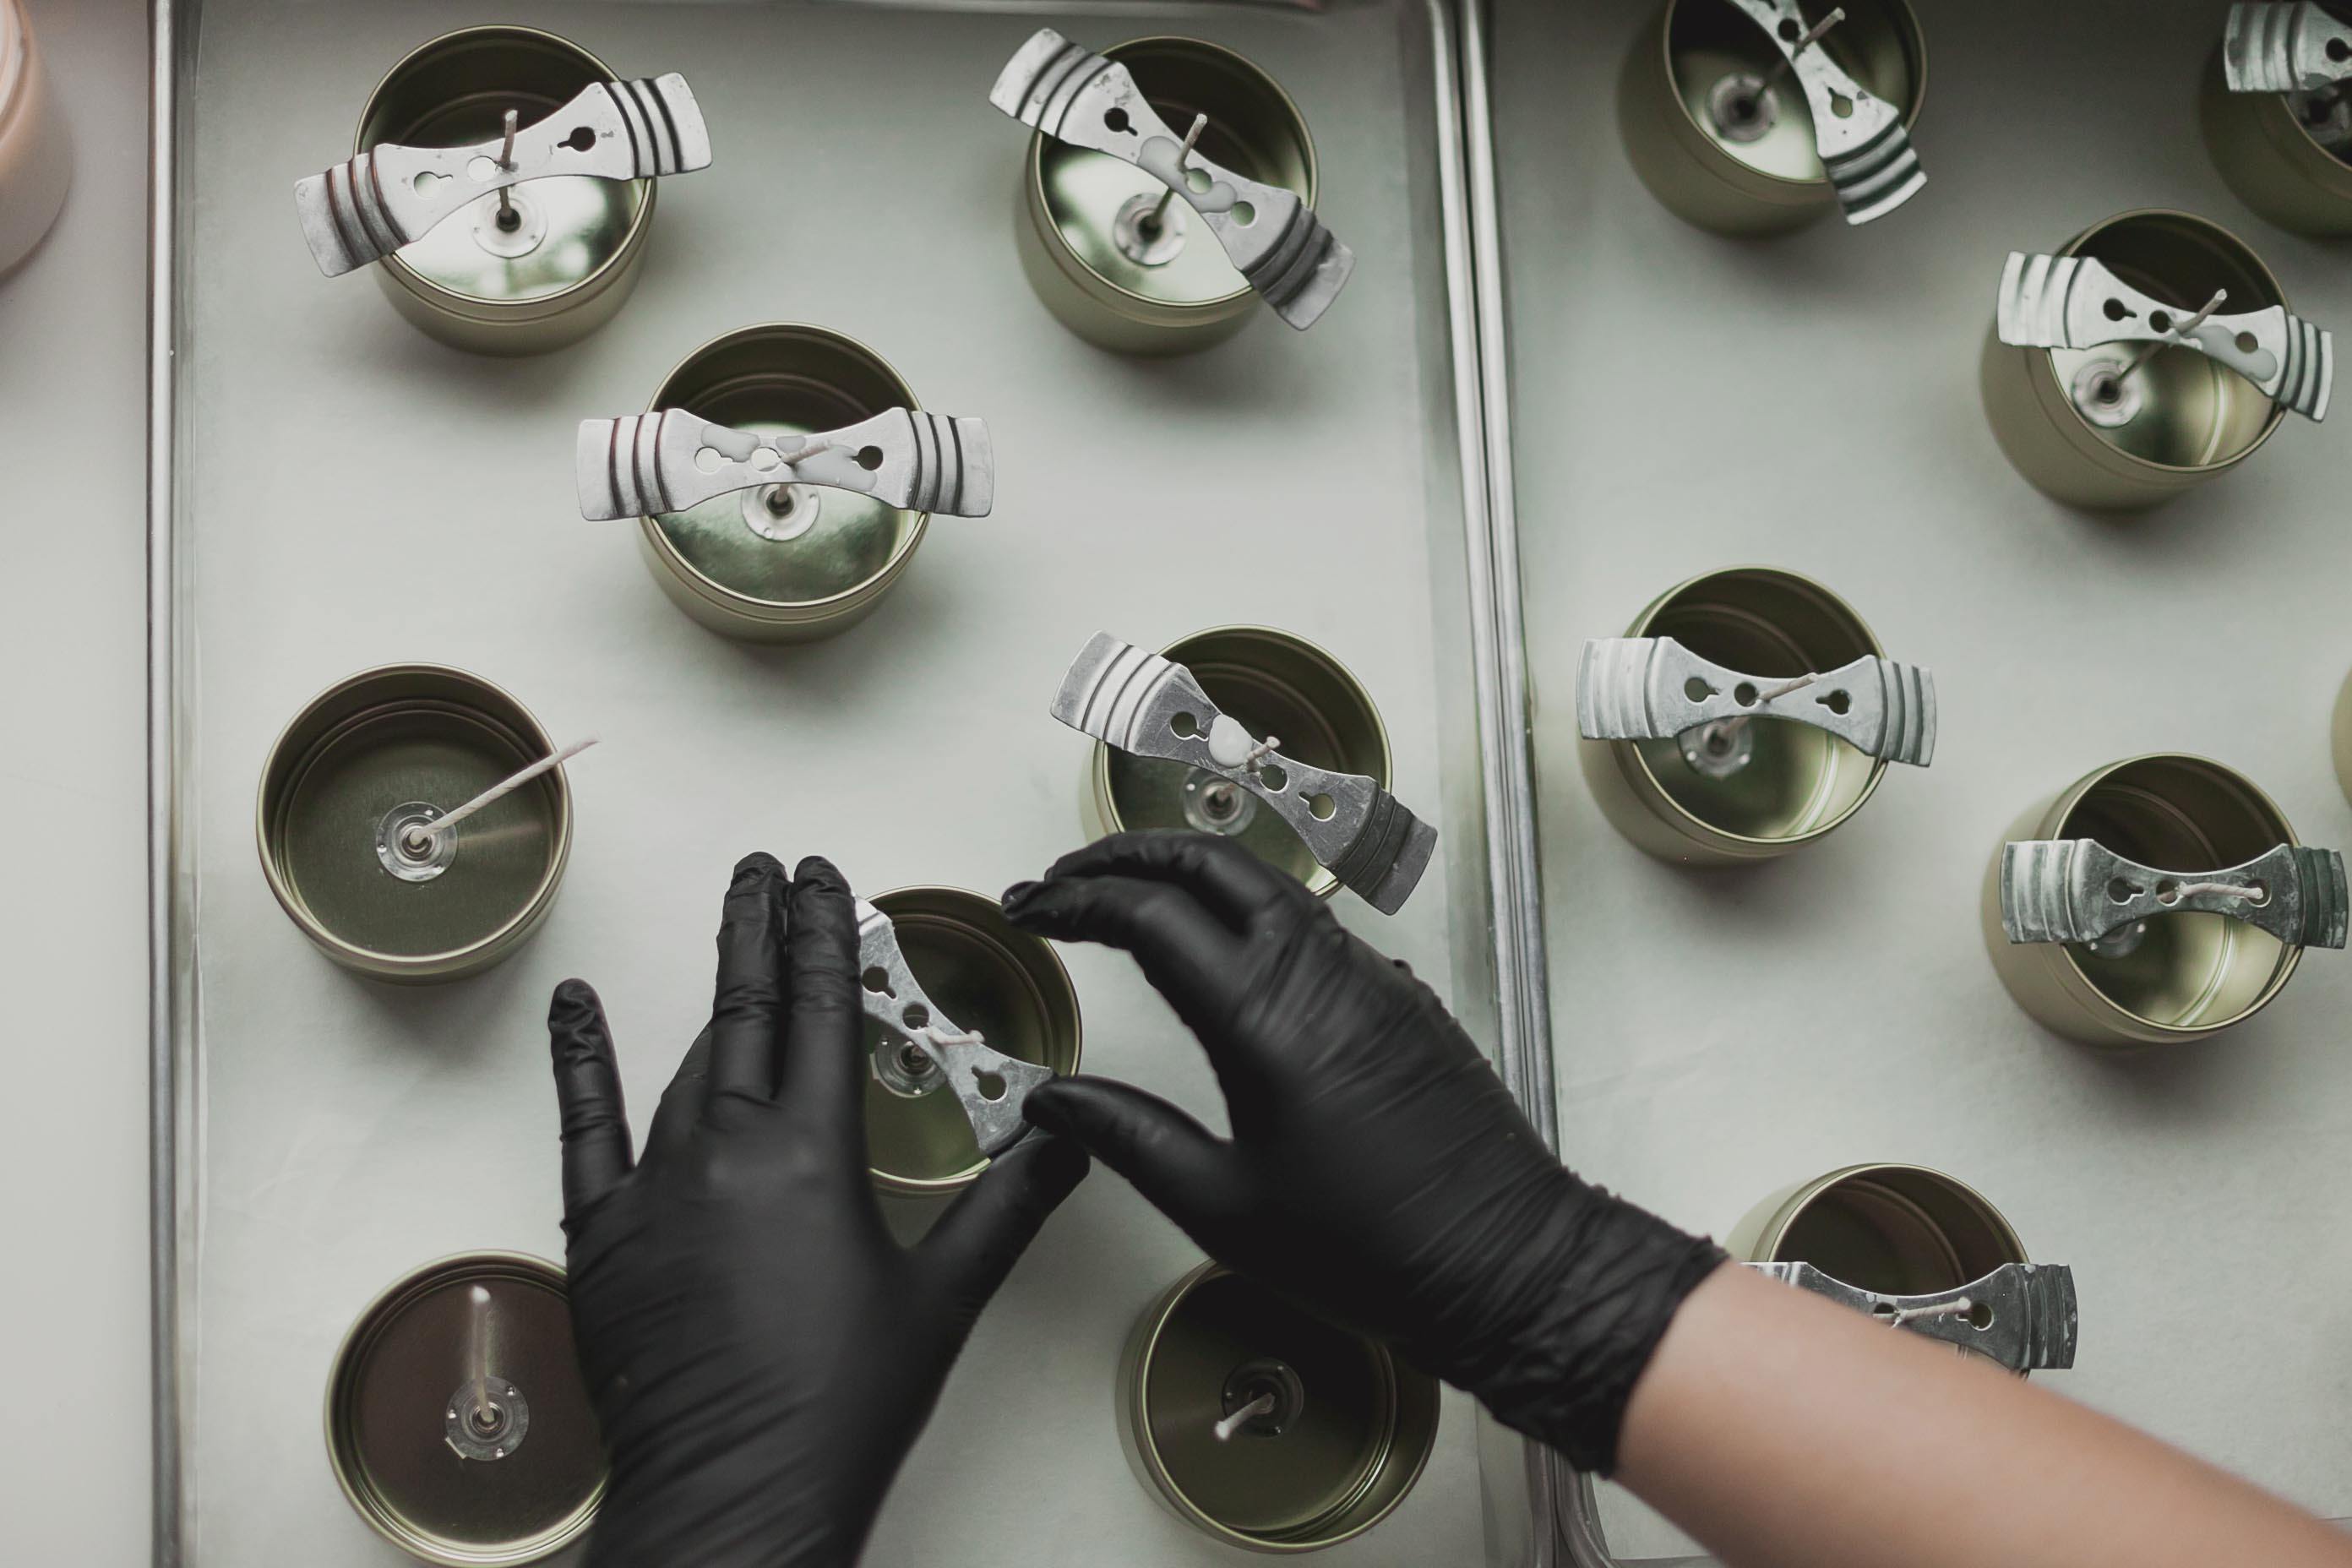
Make sure your wick has a tab at the bottom, or a clip if using wood wicks, that can be adhered to the bottom of your container. For wood wicks, this is all you’ll need; the wick clip holds it upright and centered. Check out How To Use Wooden Wicks In Candle Making for more information on using wood wicks. For cotton and paper wicks, a bow tie wick centering device is my favorite because it fits several containers and can also be used with a double wick. A clothespin can work too!
Melting soy wax
I recommend either a double boiler or a wax melter. Melters can overheat your wax, so it needs to be able to regulate the temperature and have an auto shut-off safety feature. Do not heat the wax directly in a pan and do not exceed 200° F for soy, or it will yellow.
Other great household tools are:
- A good kitchen scale to ensure you’re getting the proper measurements
- Wood or silicone spoon/spatula for stirring
- Parchment paper to protect your work surface
- A digital thermometer
- A spray bottle of isopropyl alcohol and paper towels for cleanup
I always keep some gloves handy too.
To begin, place the parchement paper on your work surface. Turn on your wax melter or place a large pot on the stove and fill it halfway with water. Then, place a pot on top to make a double boiler, turn the heat to medium, and keep an eye on it. Slowly add your soy wax. Now just let it melt! That can take anywhere from 10-30 minutes, depending on the size of your batch.
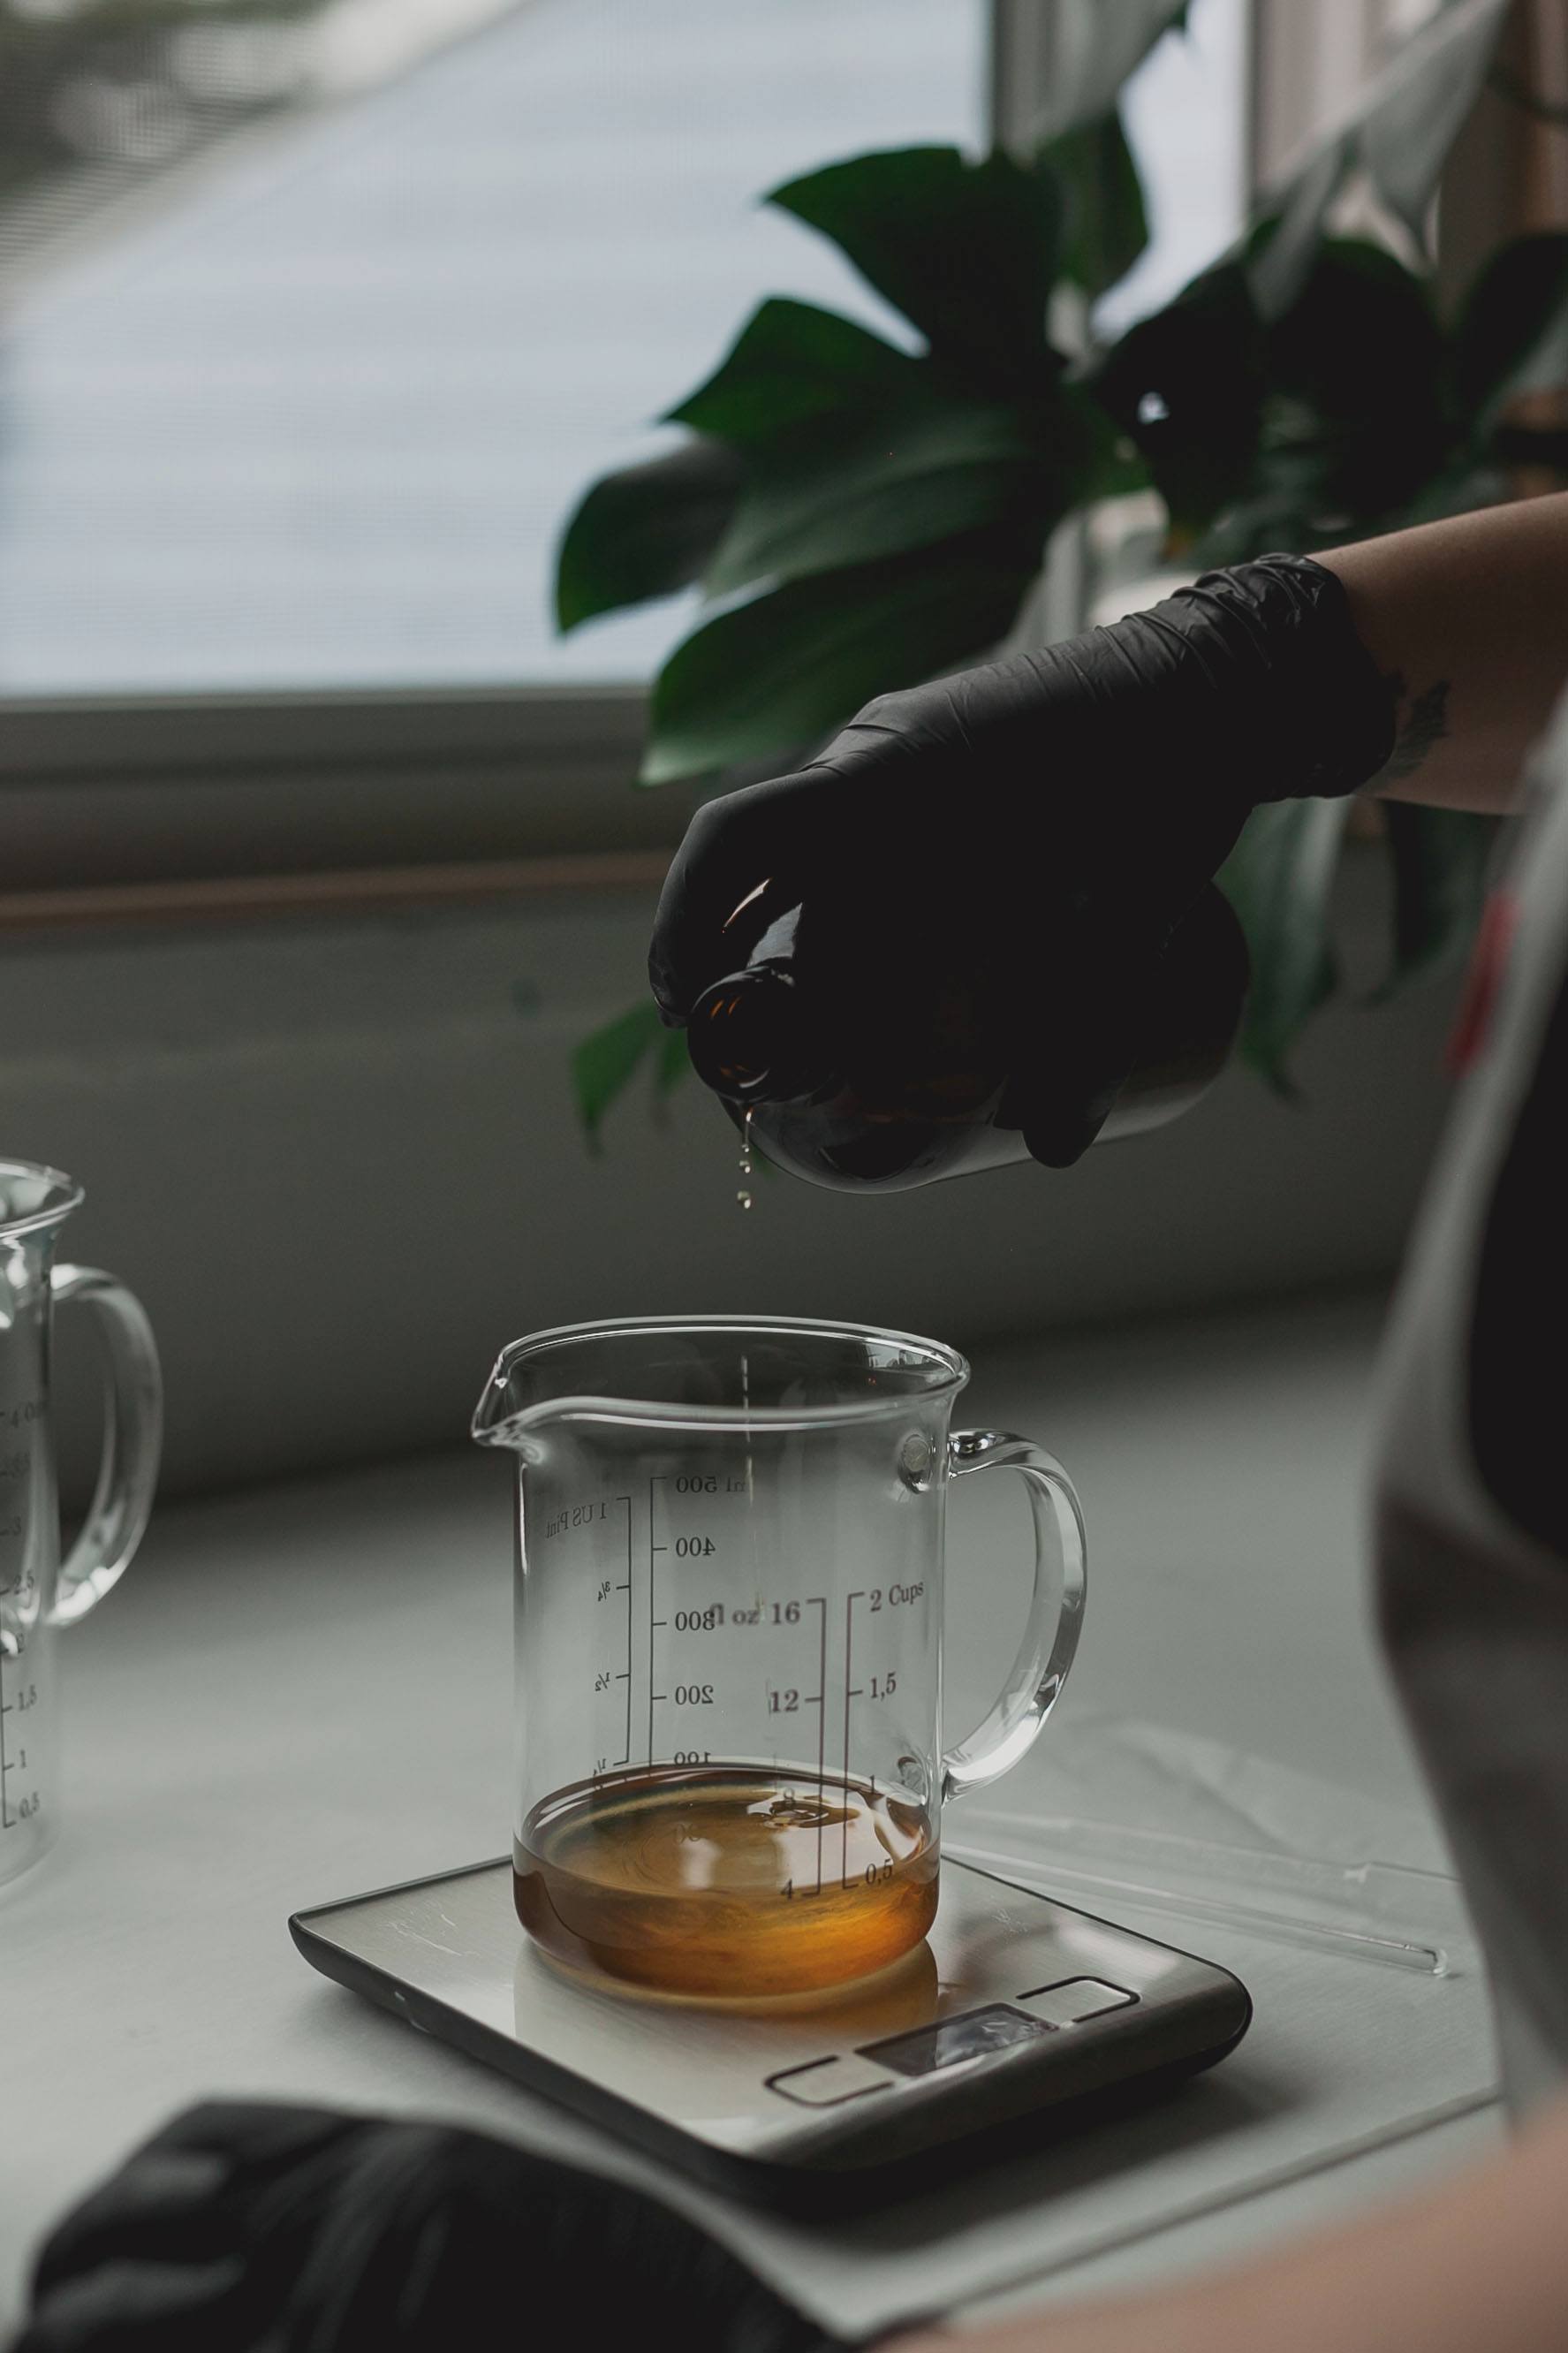
Adding fragrance to candles
How much you add varies based on preference and density of the oil. Some oils (like those containing vanilla) can be stronger than others. It’s a good rule of thumb to start around 6%, or 1 oz. of fragrance per 16 oz./1 lb. of wax. Most wax manufacturers have a recommended fragrance load of 6-8% with a max of 10-12%.
Citrus and some herbal oils, particularly those primarily made of essential oils, have a lighter density and therefore may burn off too quickly or the fragrance itself may smell “off.” Try adding these oils at a lower temperature and/or blending with a higher-density oil. Most fragrances with vanillin/vanilla will be easier to work with due to their high density. Make sure you’re using oils made for candle making and not perfume or cologne, which contain flammable ingredients like alcohol and dipropylene glycol.
As for what temperature to add fragrance, refer to the manufacturer’s recommendation. You want to bring the wax to a higher temperature than just the melt point to ensure the wax molecules have fully expanded. That way each fragrance molecule will be fully encapsulated and trapped within the wax. Most fragrances should be added between 175-185° F. Make sure your wax has been removed from the heat source before adding fragrance oils.
For more information on testing fragrance in your candles, check out How to Test Fragrances in Candles.
Adding extra oils and butters to candles
Massage candles have grown in popularity, and would be a good project to incorporate extra butters and oils. For traditional candle projects, you should not be adding extra oils and butters because it will cause the wax to soften and impact the burn quality and fragrance throw. Some candlemakers tout the benefit of a little fractionated coconut oil in their soy wax to reduce frosting and increase glass adhesion, but remember that you’ll have to account for that oil in your fragrance percentage too. Your wax is like a sponge - it can only encapsulate so much oil, so adding coconut oil may reduce your fragrance load.
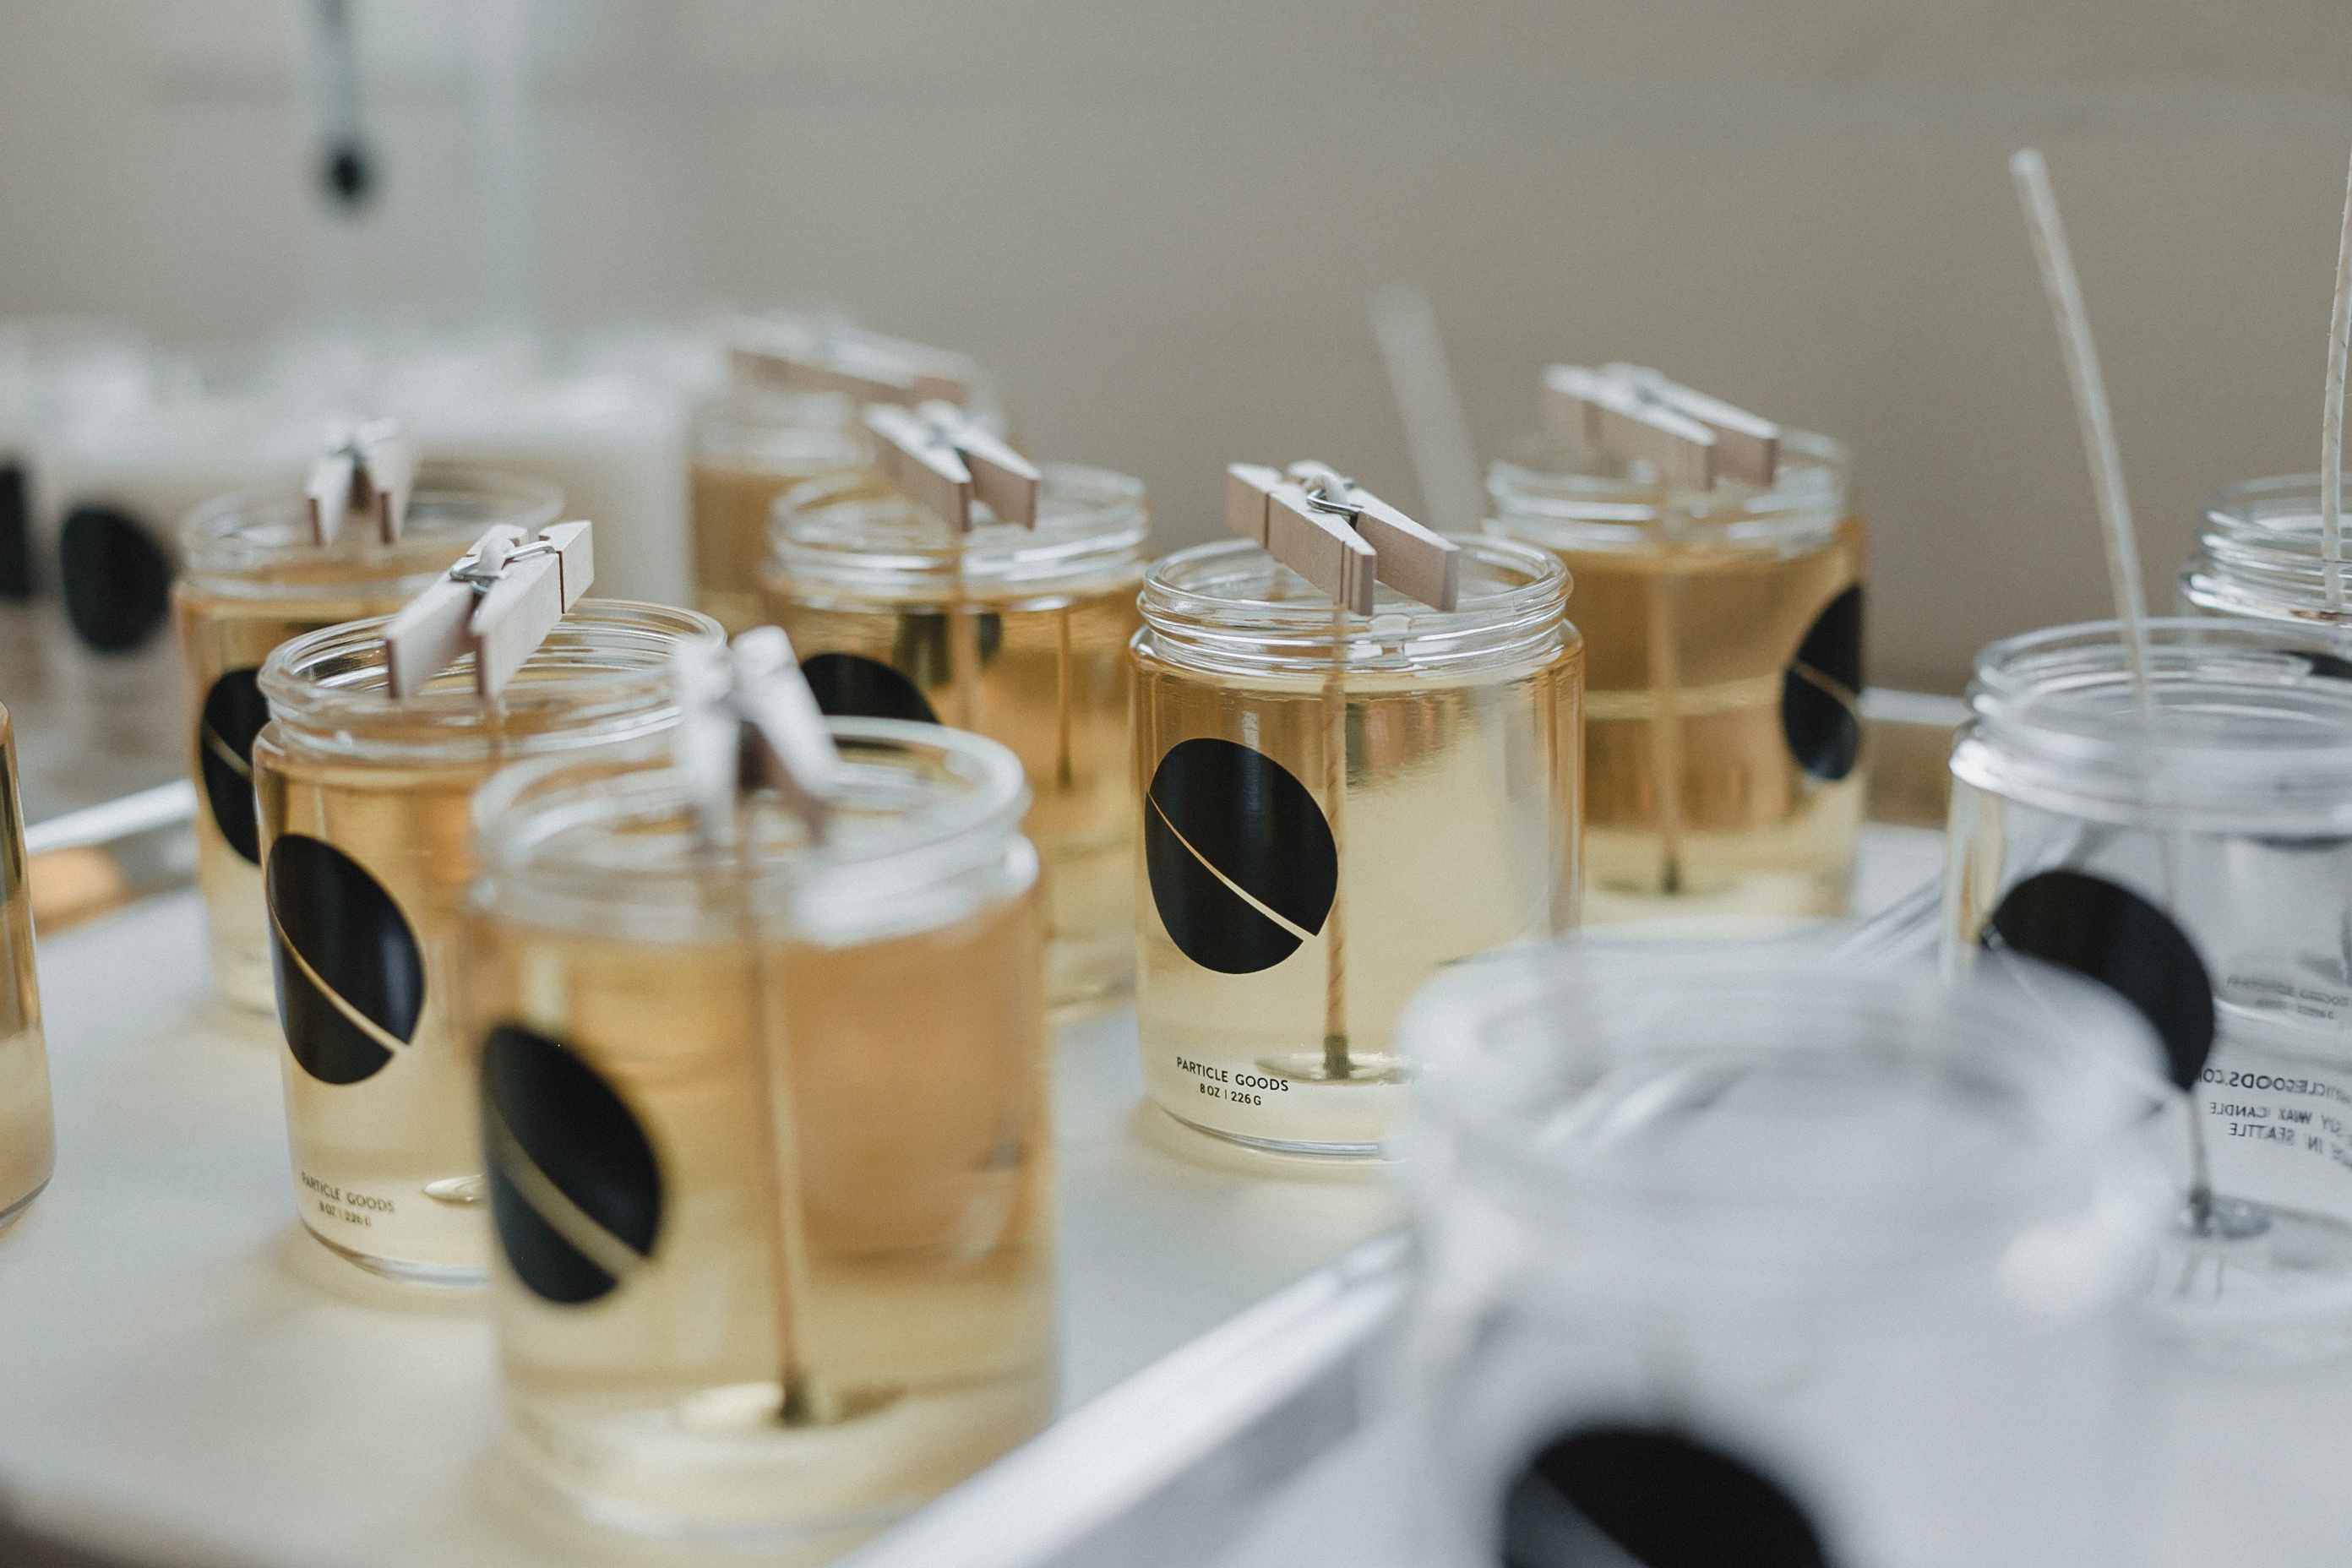
Pouring the candles
The pouring temperature depends on the wax. Each blend/brand of soy wax may have its own properties and additives that affect the pouring temperature. The industry standard is to pour around 135° F, or just as the wax starts to look slightly opaque, but some wax can be poured as high as 160-175° F. Pouring temperatures also depend on the overall temperature of your workspace where your candles will cool, and on a cold day you may need to increase your pouring temp.
Candle cleanup
Most pouring pitchers on the market are made of aluminum, so they can’t be run through the dishwasher. Most equipment and surfaces can be easily cleaned with hot soapy water or isopropyl alcohol.
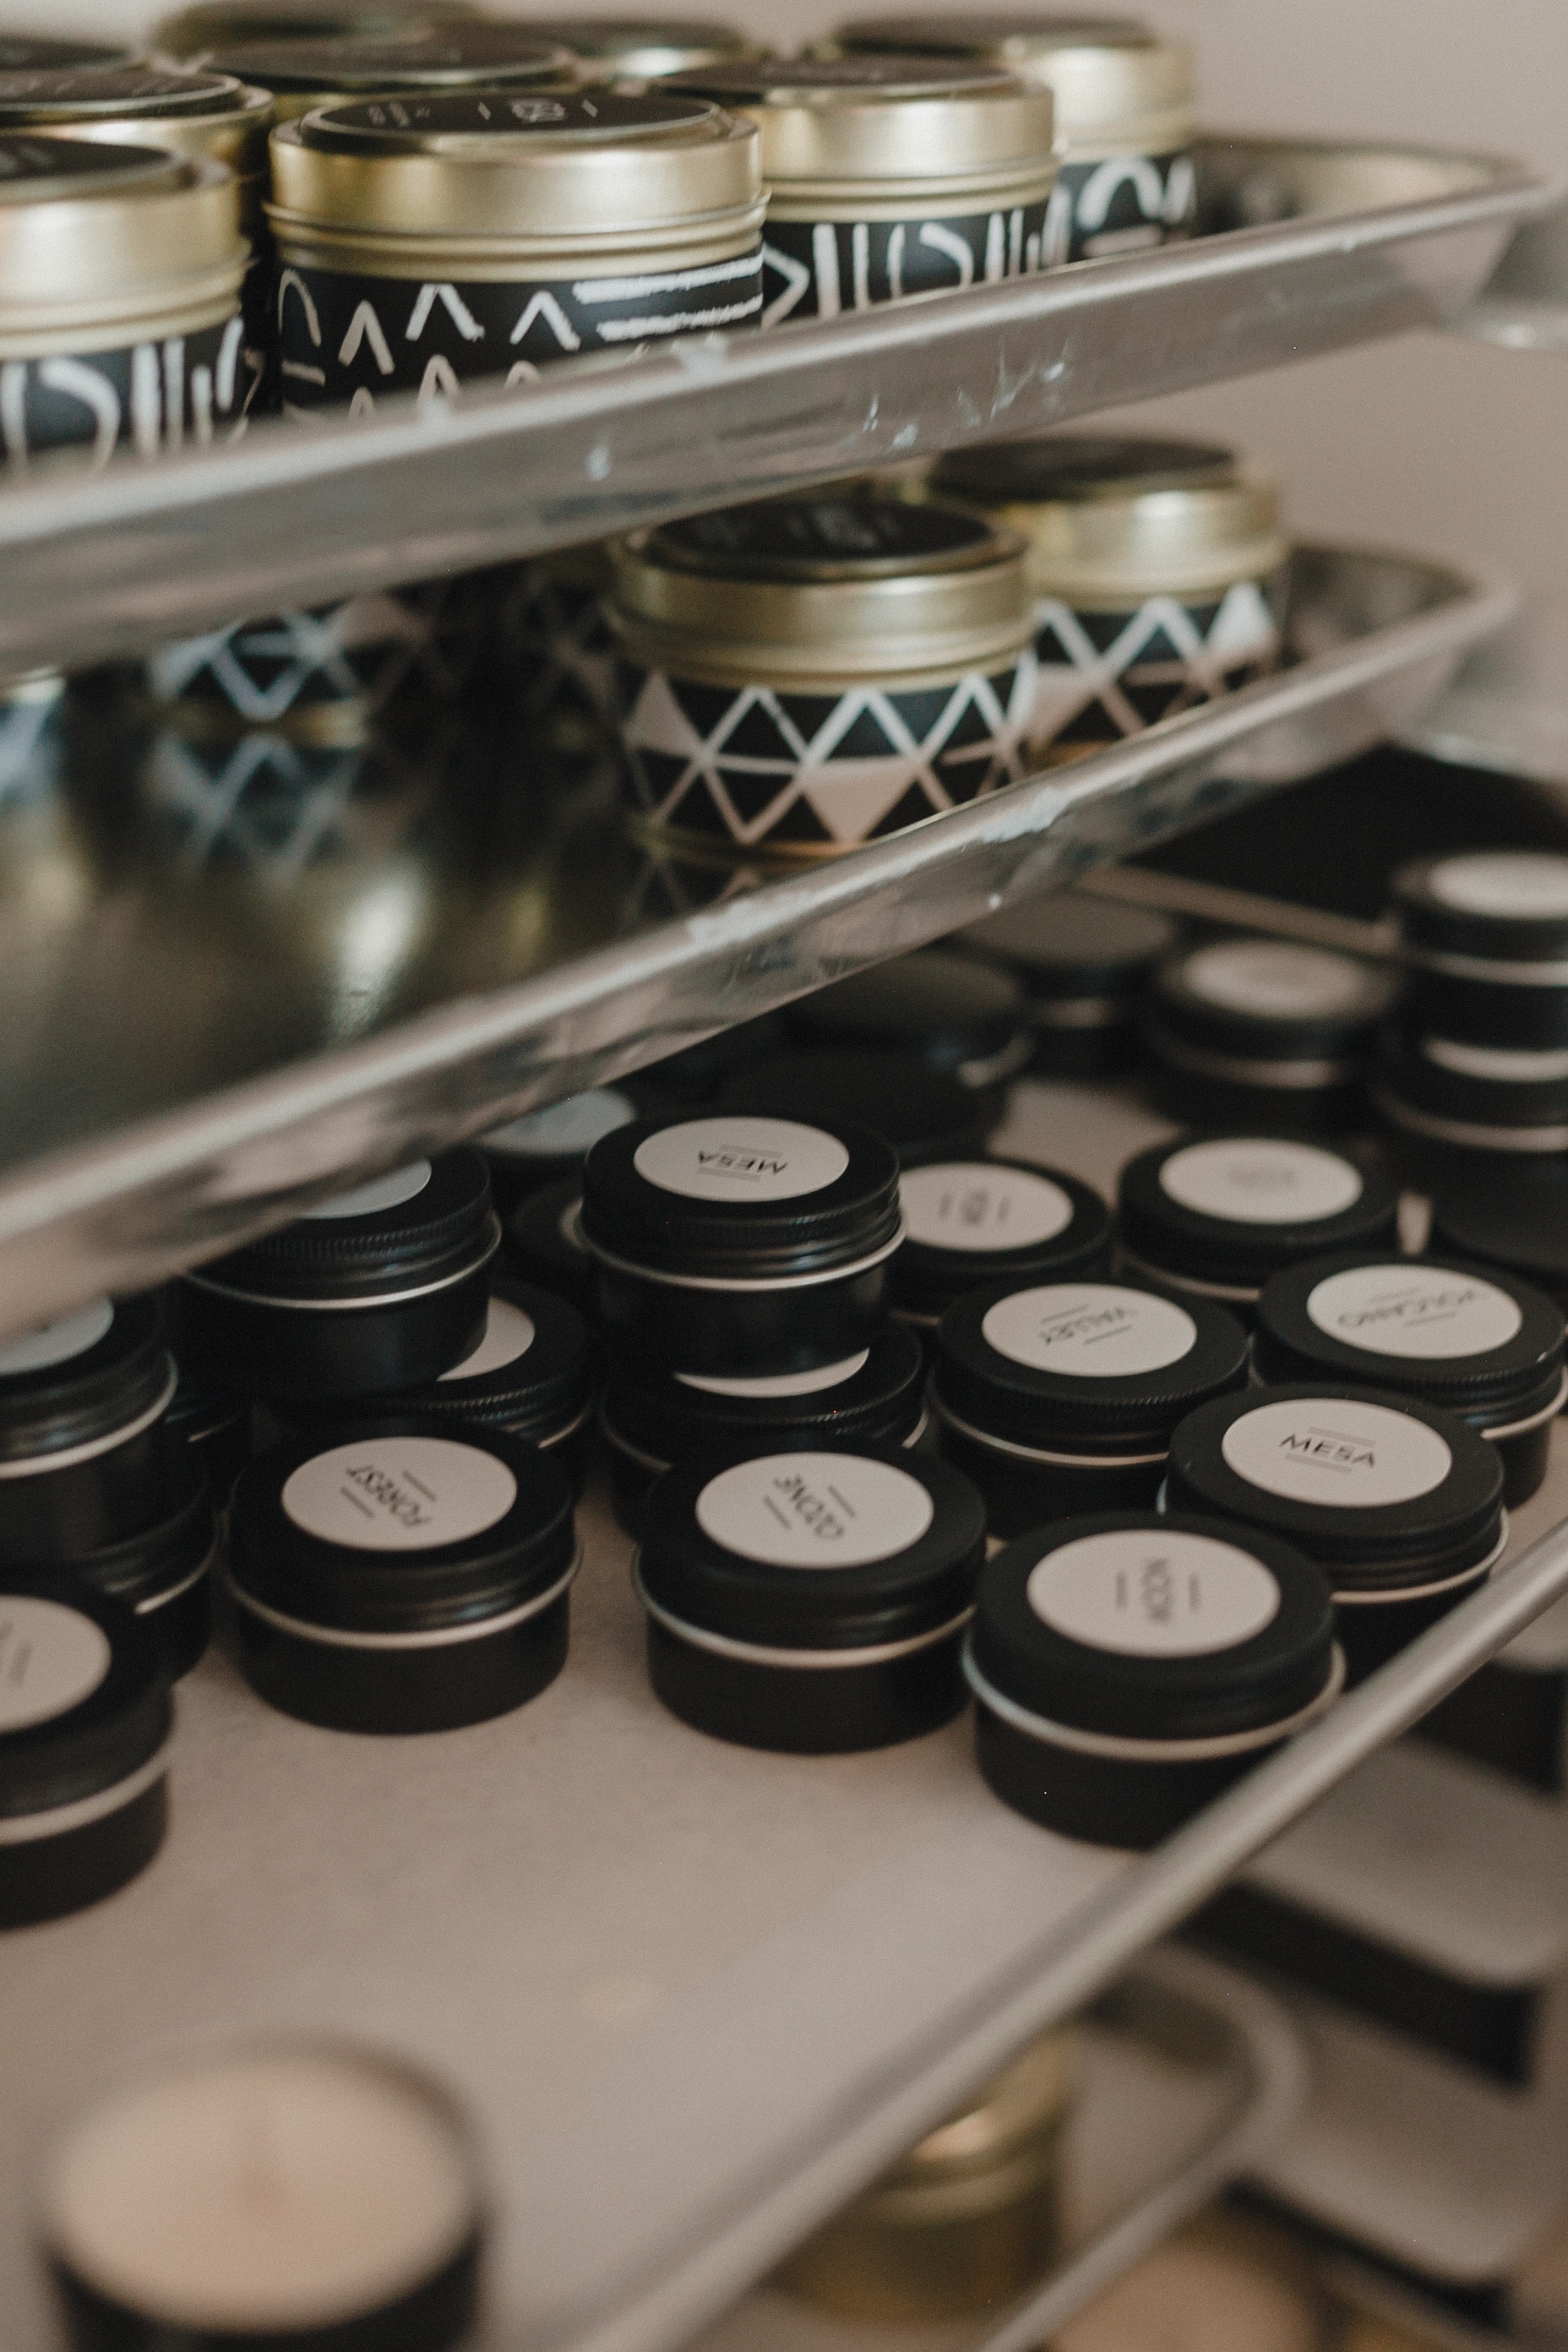
Curing candles
This is often a debate amongst makers. Soy wax encapsulates/traps fragrance oil molecules during the bonding process. Soy does not readily release or evaporate fragrance like paraffin wax and takes longer to bind together. Allowing your candle to cure (rest) for several days before burning for the first time will allow the soy wax and fragrance molecules to fully bind together. Cure times are recommended at a minimum of 3-4 days and a maximum of 2 weeks. Performing your own tests will help you determine how much time is needed to get the optimal hot throw.
Troubleshooting common candle issues
Frosting: Soy and other vegetable waxes are natural and therefore prone to frosting. This looks like small snowflakes or crystallizing on the surface of the wax. This is 100% aesthetic and does not affect the candle. If your candle has frosted, there is no way to fix it after the fact.
- Try pouring at a higher temperature or lower temperature until you notice a reduction.
- Try stirring less and do not stir before pouring, only when adding fragrance oil.
- Some fragrance oils, and especially essential oils, are more prone to frosting if not poured at exactly the right temperature.
Delamination/wet spots: Sometimes the wax may pull away from the glass in certain spots. This is common and caused by many factors, including pour temp, ambient room temp, and cooling room temp.
- Make sure you’re using a wax blend specifically for container candles.
- Try pouring at a hotter temperature. Start at +5 degrees at a time until it's resolved.
- Before pouring, try preheating your glassware on the lowest oven setting until just warm to the touch but not hot.
- Make sure the room you’re working in stays at 70° F during pouring and cooling. You’ll most likely see wet spots occur overnight when the temperature drops.
Uneven tops or cratering: Sometimes the top of your candle looks bumpy or has sinkholes after cooling. This could be the pouring temp or the room temp.
- Make sure not to move your candle around after pouring. Set it in a spot to cool and leave there until fully cured.
- Try pouring at a hotter temperature.
- Try leaving 1/4” room at the top, and then top off with a second pour of wax after the candle has cooled.
- Try reheating the top with a heat gun. DO NOT USE A BLOW-DRYER. Heat guns are condensed heat with little airflow, while a blow-dryer will not reach a high enough temp and will make a huge mess.
Sweating: If you see small beads of oil on the surface of your candle after cooling, this is what's known as sweating. This is caused by either:
- Adding too much fragrance. The wax is like a sponge and can only hold so much fragrance oil. The excess will leach out.
- Not incorporating your oil well. Try adding the fragrance at a higher temperature like 180-185° F and stir gently but continuously for 1-2 minutes.
Wax discoloration: Candles may discolor for several reasons, before or after burning.
- Fragrance oils with vanillin content will generally discolor immediately, but definitely if exposed to UV light over time. Try adding a UV inhibitor to the wax when pouring to reduce this.
- Wax was heated above 200° F for a prolonged period of time.
- Essential oils can often discolor the wax and will continue to darken with time/UV exposure.
- Wax may discolor slightly after burning, and you’ll notice that it appears darker after it’s cooled again. This is natural with many fragrances.
- Age. Candles can fade or discolor over time. Generally, candles will start to change after 9-12 months, and sooner if exposed to UV light.
No hot throw: This can be caused by numerous things, and it's of course very frustrating. Here’s where I would start troubleshooting:
- Ensure you’re allowing the candle to reach a full melt pool. The throw comes from the melt pool, so in order to fill the room with fragrance, it can take 2-3 hours of burn time.
- Wick size is often the culprit here. Make sure you’re using the right size wick. Pay attention to flashpoints in your fragrance. The higher the flashpoint the denser the oil, the lower the flashpoint the lighter it is. Higher-density oils need more heat (larger wick) to create the combustion needed to melt the wax and release the fragrance. Lower-density oils need less and therefore a smaller wick.
- Too much fragrance oil
- Too little fragrance oil
- The wax blend. Because soy has a higher melting point, it takes a lot of heat and energy to burn. This means that soy does not release fragrance as readily as some other types of wax. Try a different wax blend.
Scent smells weird/bad: Some oils just aren’t compatible with candle making. Make sure to use high-quality oils specifically made for candles. Bramble Berry has collections of Essential Oils and Fragrance Oils perfect for candle making.
- Some oils, like herbals and citrus, are known to be delicate and have a lower density. Mixing them with a higher-density oil like vanilla, for example, can sometimes fix this.
- Try using a smaller wick size.
- All fragrances and essential oils have a shelf life. Aroma molecules can oxidize over time and break down. Fragrance and essential oils generally have a shelf life of 6-12 months. Be sure to store them in opaque or dark glass bottles, and do not store in metal or plastic containers.
Wax residue on the container after burning: Some residue on the walls of the container is normal. Most likely this will lessen as the candle continues to burn down. If there is a significant amount of wax still after a 4 hour burn, you may need to wick up a size.
Flame is high and wick is putting off smoke or mushrooming during burn: This could be due to several issues:
- Wick not being trimmed before each new burn. Wicks should always be trimmed to ¼” before each burn.
- Wick size is too large and there is carbon build up
- Candle is in a room with a draft or too much moisture (like a steamy bathroom)
Glossary
- Burn time: The amount of time it takes for the wax in a candle to be consumed completely
- Cold throw: The strength of fragrance emitted from the unlit candle
- Double boiler: Two nested pans with water in the lower one, designed to allow slow, even heating
- Essential oil: Distilled oil from plant matter, 100% natural oil
- Flashpoint: The temperature at which a substance can ignite if it comes in contact with an open flame or spark
- Fragrance oil: Concentrated scent oil made of either natural or synthetic ingredients, or both
- Fragrance load: Maximum amount of fragrance the wax can hold
- Frosting: White crystals that resemble snowflakes on the surface of the wax
- Hot throw: The strength of fragrance emitted from candle while burning
- Melt point: The temperature at which wax will start to liquefy
- Melt pool: The liquified wax pool as the candle is burning
- Mushrooming: Carbon build up on the tip of the wick while or after burning
- Sinkhole/crater: Cavity that forms when the wax hardens and contracts
- Tunneling: When a wick does not make a full melt pool in a candle and leaves a ring of unmelted wax on the sides
- Wet spots: An area where the wax has pulled away from the container, leaving spots or large areas that have shrunk away. Usually a problem with container candles in clear glass. Also referred to as delamination.
- Wick: Material that delivers fuel to the flame in a candle
- Wick tab: Flat metal disc that holds the wick at the bottom of a candle
- Wick clip: Used to keep the wick upright and centered while cooling
Photos courtesy of Particle Goods.
Ready to get started? Find soy wax candle making recipes here and soy wax candle making kits here.
We also have a Candle Making Supplies List for Beginners, and some Candle Tips!
