In general, there are four methods to make soap - cold process, melt and pour, hot process, and rebatch. There are pros and cons for each, and every maker has a personal preference. If you’re wondering which method may be the best for you, find information below. And find soap making supplies here.
Keep in mind, what you consider a con may be a pro for someone else. Each method creates amazing handmade soap - we can all agree that's better than store-bought bars. ;)
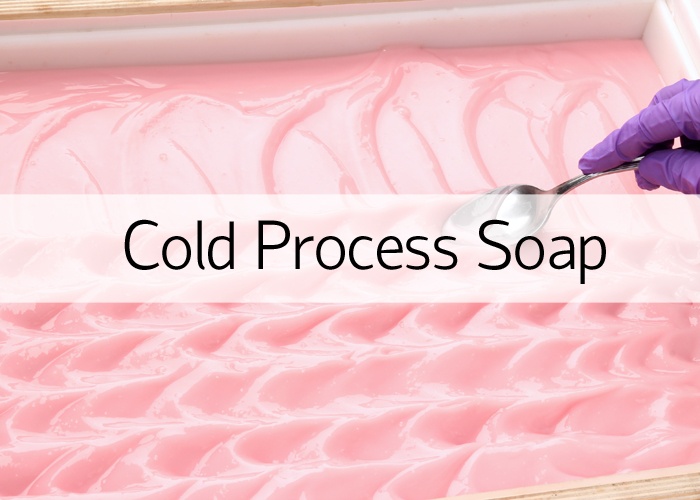
Pros:
- This method allows you to customize every single ingredient to suit your personal preferences.
- You can add fresh ingredients like milk and fruit/vegetable purees because you control the saponification process.
- The trace of cold process soap can be manipulated for a variety of techniques and designs. Thin trace can be used to make swirls, while thick trace creates soap frosting.
- With so many technique options, it’s a great way to get creative. The sky's the limit!
- The thick texture makes it great for suspending heavier additives.
- It's generally considered a more "natural” bar of soap.
Cons:
- It's made with sodium hydroxide lye, which can be dangerous if it's handled incorrectly.
- Cold process soap takes about 4-6 weeks to cure. The bars can be used before then, but they will be softer and won't last as long in the shower.
- Some colorants can morph in the high pH environment of cold process soap.
- Fragrance oils can react with the high pH of cold process soap in negative ways, causing acceleration, ricing, or seizing. Always make sure your fragrance behaves well in cold process!
- Vanilla Color Stabilizer is not reliable. Fragrance oils with a high vanilla content will turn the soap brown.
- Because cold process soap is opaque, glitter doesn't show up very well. It still looks great sprinkled on top though.
- Cleanup can be a long process depending on how intricate your design is.
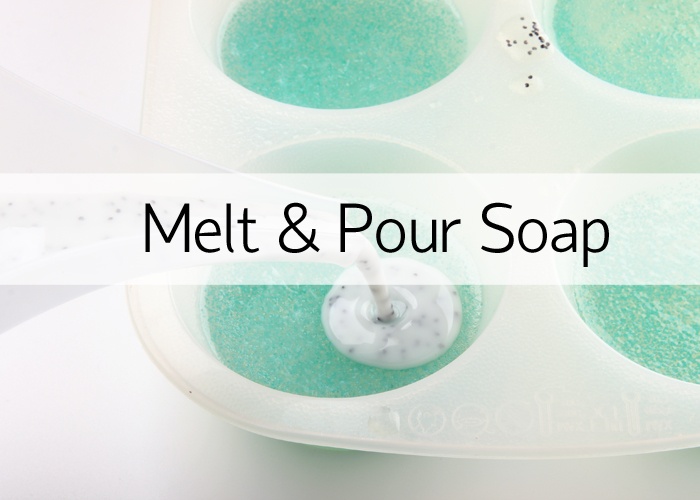
Pros:
- This method is great for beginners. You can make melt and pour with children as young as 4 (with parental supervision).
- The base has already gone through saponification, so working with lye is not required.
- You don't need to wear safety gear because you’re not working with lye.
- Melt and pour soap is quick to make, hardens in several hours, and doesn't need to cure.
- Fragrance oils don't cause acceleration, ricing, or seizing.
- Vanilla Color Stabilizer is an effective way to prevent browning in melt and pour.
- Glitter and shimmery micas really pop, especially in translucent bases (Clear, Aloe Vera, Honey, etc.)
- You can create extremely clean and straight layers. Just make sure to have 99% isopropyl alcohol nearby so the layers stick together.
- Cleanup is easy because your dishes are coated in fully ready-to-use soap.
Cons:
- Because melt and pour soap contains extra glycerin, it's prone to sweating.
- The base is not fully customizable. Because saponification has already happened, you can't choose the oils/butters that go into the soap.
- Fresh ingredients like milk and purees will eventually go bad in the bars.
- Melted soap is thin and fluid, so heavier additives can sink to the bottom.
- It cools and hardens quickly. That means some swirls that can be made with cold process aren't possible with melt and pour.
- Melt and pour soap can burn, which makes the base thick, gloopy, and difficult to work with.
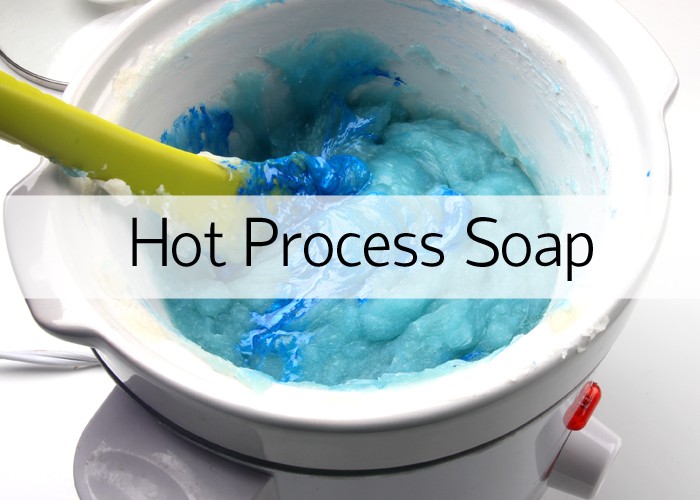
Pros:
- You can customize every single ingredient, including oils.
- The additional heat speeds up the saponification process. Three cheers for instant gratification - hot process soap can be cut within one day and used right away.
- The bars have a rustic appearance and a less smooth texture than cold process. Whether you like this look is personal preference.
- Hot process can be made in a Crock-Pot or double boiler.
- The thick texture makes it great for suspending heavier additives.
- It's generally considered to be a more “natural” bar of soap.
- Cleanup is easier because the leftovers in the slow cooker/Crock-Pot are already soap.
Cons:
- The thick texture of hot process soap makes some techniques difficult, like layering and swirls.
- If your fragrance or essential oil has a low flashpoint, some makers find the higher temperatures can burn off the fragrance, causing it to fade.
- As the soap cooks, it expands. Because of the possibility of overflow, it’s important to not leave it unattended.
- It's difficult (but not impossible) to add fresh ingredients like milk and purees; they tend to scorch during the cooking process.
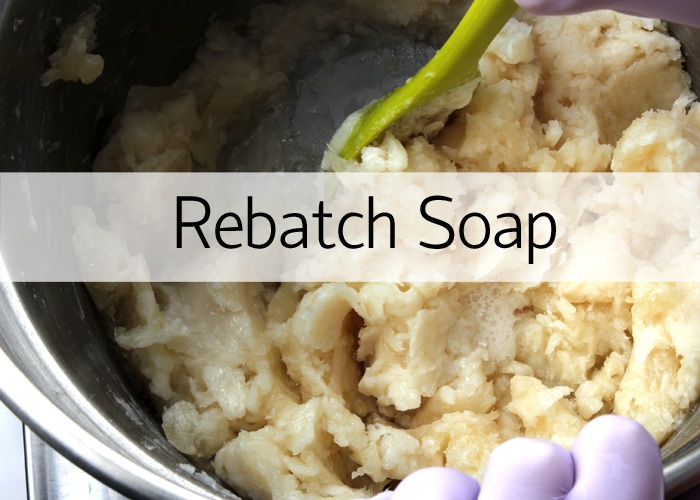
Pros:
- The base has already gone through saponification, so you don't have to work with lye. That means you don't need to wear safety gear.
- It's great for beginners because the base is already made.
- Rebatch soap is a great way to save batches of soap that didn’t turn out quite right.
- It doesn't require a 4-6 week cure time. We usually recommend about 1-2 weeks, but it can be used as soon as it's cut.
- The bars have a rustic appearance and a less smooth texture than cold process. Whether you like this look is personal preference.
- The cleanup is super simple.
Cons:
- The soap has already saponified, so the recipe can't be customized.
- Fresh ingredients like milk and purees will eventually go bad in the soap.
- If your fragrance or essential oil has a low flashpoint, some makers find the higher temperatures can burn off the fragrance, causing it to fade.
- Due to the thick texture, swirls and layers can be tricky.
What's your favorite method? Share using #BrambleOn.