If you're tired of paying for expensive store-bought candles, try handmade instead. You can customize them with your favorite waxes, scents, and containers.
While the process of making candles is easy, factors like temperature and fragrance affect how they perform. Below, we go over some basics to help you get started.
Find candle making supplies here.
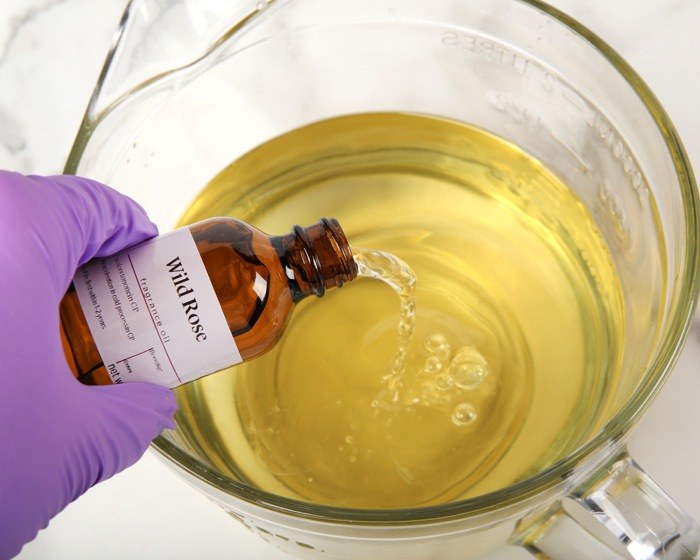
Choosing a fragrance
All Bramble Berry fragrance oils can be used in candles. However, we recommend making a small test candle with each scent to make sure you like the way they smell when warmed, and to make sure they're strong enough for your preference. The same goes for essential oils.
We also offer fragrance oils that are specifically formulated for candles. They have great scent throw.
To find out how much scent to add, you can use the Bramble Berry Fragrance Calculator. If you find the recommendations aren't strong enough for you, feel free to add more. Candles don't need to be skin safe so you can add more fragrance than you would to products like soap or lotion. A good place to start is 4-6% of the total weight, but you can go as high as 12%. If you add more than that, the fragrance can separate from the wax and pool on top. That's another good reason to make a small test candle.
We recommend adding the fragrance when the wax is around 165-185° F so it mixes in well and stays strong. Then, let the candles sit for at least 2 days in a cool, dry place with the lid on before using them. That allows them to set up fully so they fill the room with scent.
Choosing a wick
The wick you use depends on the size of your candle. Here's what we recommend for the ones we carry:
- HTP 72 - candle diameter 0.75-3"
- HTP 93 - candle diameter 0.75-4"
- Cd-12 Wick - candle diameter 2.5-3"
- Cd-16 Wick - candle diameter 2.75-3.25"
- Cd-20 Wick - candle diameter 3.5-4"
- Wu-250 Wick - candle diameter 4-4.5"
- HTP 1312 Wick - candle diameter 5" and up
- HTP 1212 - candle diameter 3-5"
We also offer narrow wooden wicks, which work well for smaller candles, and wide wooden wicks, which work well for larger candles.
Wax choice is also a factor to consider. For instance, if your container is smaller but you're using beeswax, you'll need a larger wick to account for the higher melting point.
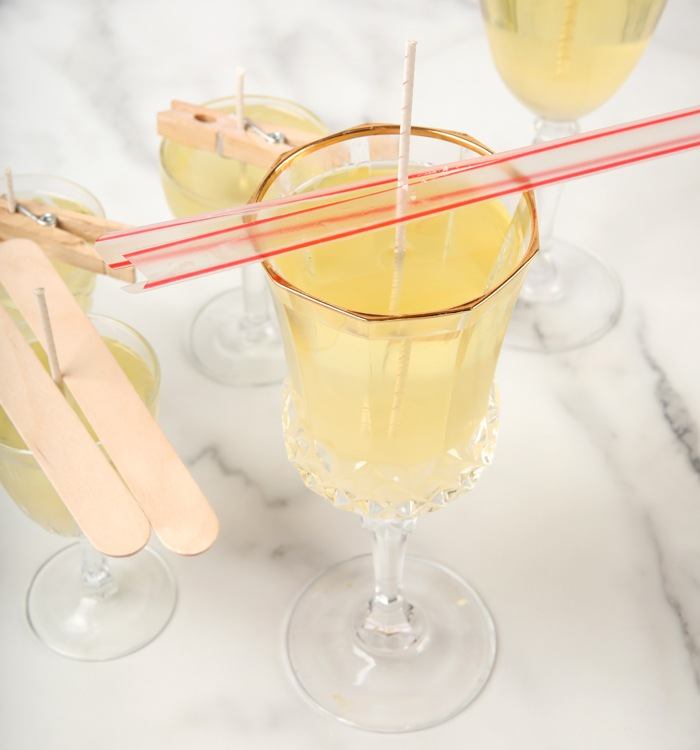
There are a few tricks to make the wicks stay in place. It's important that they're centered so the candles burn evenly. In our testing, we found it was easiest to cut the wicks first and either place them in the container before or after the wax is poured. If you like, you can keep the wicks long and hold them in place with cut straws, clothespins, bobby pins, or popsicle sticks. Then, cut them once the wax is cool.
Ideal temperatures
If you notice bumps, frosting, or wax pulling away from the container, it's likely because of temperature fluctuations or the wax cooling too slowly.
We recommend a room temperature of at least 70° F. If yours is cooler, you can place the candles in a warm area like the top of an oven or the laundry room. You can also place the containers in a box lined with towels or paper. The next thing to consider is pouring temperature - we found pouring soy wax around 130-135° F and beeswax around 155-160° F prevents it from cooling too quickly.
If you're still noticing aesthetic issues, try experimenting with the wax and fragrance. Some soy blends are prone to frosting, so look for an option that says "frost resistant."
You can also hold a heat gun a few inches away from the top of the candle for 2-3 seconds. That will smooth everything out, and no one will know there were imperfections!
Ready to get started? Find candle making projects here and candle making kits here.
