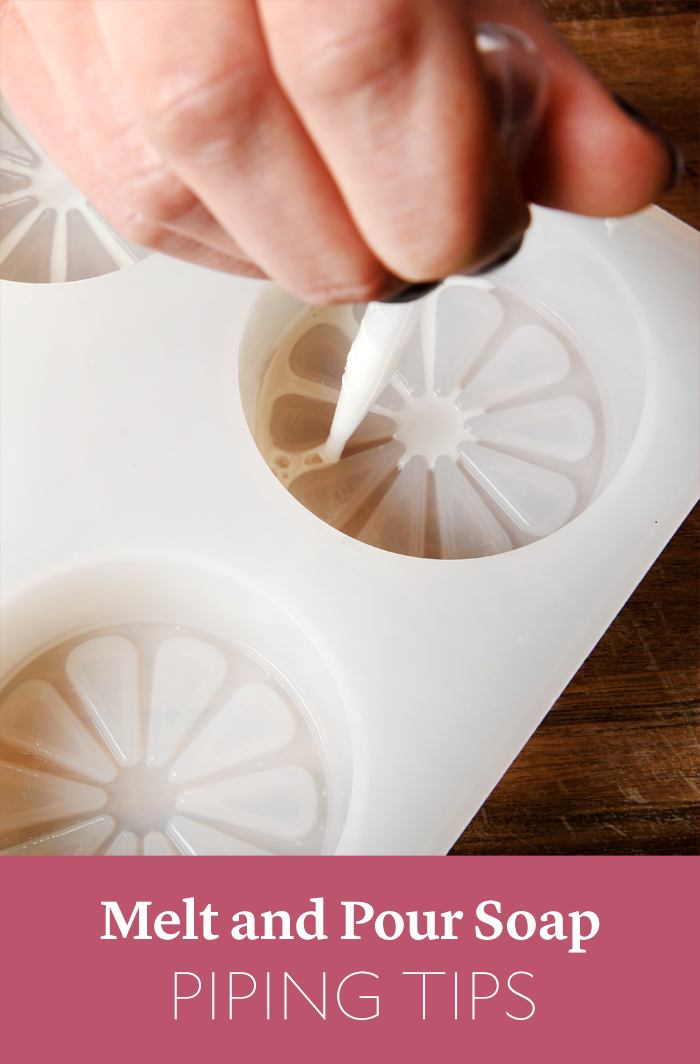
We always recommend melt and pour soap for beginners because it's easy to make. But once you get the basics down, you can create advanced designs like layers and swirls. You can also try piping, which involves filling in mold details so they pop against the base.
Find tips for perfectly-piped melt and pour soap below, and get all the supplies you need here!
Necessary tools
First, let's go over the supplies you need.
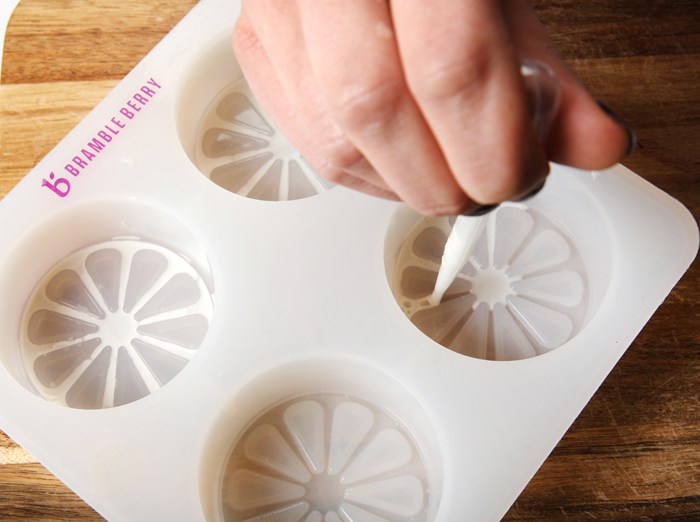
- Something to pipe with. Droppers work well for larger details. If you need a more precise tool for smaller details, try an irrigation syringe. You can find them online or at select pharmacies/grocery stores.
- A cup of hot water. Use it to clean out the tool in between piping details, that way the soap won't harden and get stuck. Keep a few extra droppers nearby just in case it hardens before you can clean it.
- A clean-up tool or a fork, butter knife, or toothpick. Piping is messy work, but it's easy to clean up. Just wait for the soap to harden and then scrape off the spills.
- Paper towels are always handy to clean up.
- An infrared thermometer will ensure you have the correct temperature for piping and pouring.
- 99% isopropyl alcohol is an absolute must-have. Keep it nearby in a spray bottle during the entire process. Learn why in the next section.
99% isopropyl alcohol
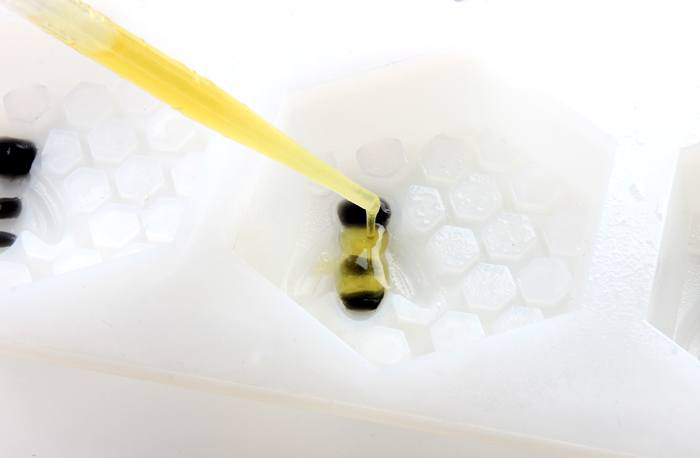
Alcohol is used several times throughout the process. First, spray it liberally into the details before piping. That helps the soap flow into the mold easily. So rather than moving the dropper along the lines, you can add drops in a few areas and essentially flood the soap into the details. See that technique in this video.
As you work, keep the spray bottle in your hand and spritz any time you see an air bubble. Spritz again when you're done to pop any leftover bubbles. Finally, spray the details with alcohol before you pour more soap in so the layers stick together.
How much soap you need
For most mold details, you need less than an ounce of melt and pour to fill them. However, we recommend using at least 2-3 ounces of soap. A smaller amount will harden so quickly you won't have enough time to work. It's also more likely to burn.
The same goes for coloring the soap - add a bit more than you think you'll need. That ensures the details stand out against the base color. Learn more in the How to Color Handmade Soap article. Don't worry about scenting the soap. It's such a small amount, it won't make much of a difference.
Once you're finished piping, pour any leftovers into another mold. You can also cover the container with plastic wrap and save it for another project.
Temperature
Temperature is super important, and getting it just right takes practice. Ideally, you want the soap to be around 140-150° F. That way it's thin enough to pipe, but not so hot that it burns or melts the dropper.
Start by chopping your melt and pour base into small, even pieces. Place them in a small heat-safe container. Melt in the microwave on 10 second bursts, stirring between each one. It takes longer to melt with this method, but be patient - just a few extra seconds can burn the small amount of soap. Burnt melt and pour has a thick, gloppy texture that hardens almost instantly. It can also turn yellow and smell slightly off.
Once your soap is fully melted, work quickly. Draw it into your dropper, spritz the mold with alcohol, and start piping. Don't worry too much about making it perfect because you can clean all the details later. If the soap thickens too much to pipe, put it back in the microwave for just 5 seconds or so.
If you don't want to keep putting the soap in the microwave, try a double boiler. Put the soap base in a large bowl set on a small pot with simmering water. That keeps it melted the entire time you're working.
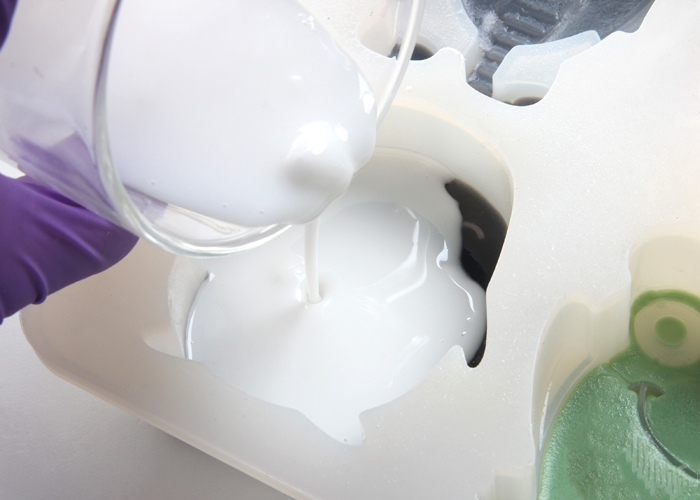
Finish piping, spritz with alcohol, and wait 10-15 minutes for the details to harden. Then, you can melt your base soap on 30 second bursts. Temperature is important here too - the base soap needs to cool to 125-130° F so it won't melt the small details. When it's ready, spritz with alcohol, slowly pour the soap in, and spritz with alcohol again to pop any bubbles. Let it harden for 4-6 hours or up to overnight. Then, unmold and enjoy!