Bath bombs are simple to make - just combine baking soda, citric acid, and your favorite additives. Molding and unmolding them is tricky at first, but this article can help. With a little practice you'll be able to make plenty of bath bombs for your family and friends.
Find DIY bath bomb supplies here.
The first step is getting the perfect consistency. Once the recipe is mixed together, squeeze the powder in your hand. It should feel like wet sand and hold its shape when you release. If not, use one hand to spritz with witch hazel and the other to mix until it does. Learn more in the Bath Bomb Questions & Answers article.
Multi-Cavity Molds
These are the easiest to work with. For plastic molds, start by filling each cavity. Add a small handful of powder and pack it in firmly, then add more on top and pack until the cavity is full. Let the bath bombs sit in a cool, dry place for at least 2 hours or up to overnight. Then, remove by pulling on the side of each cavity, flipping the mold over, and pressing gently on the back until they pop out.
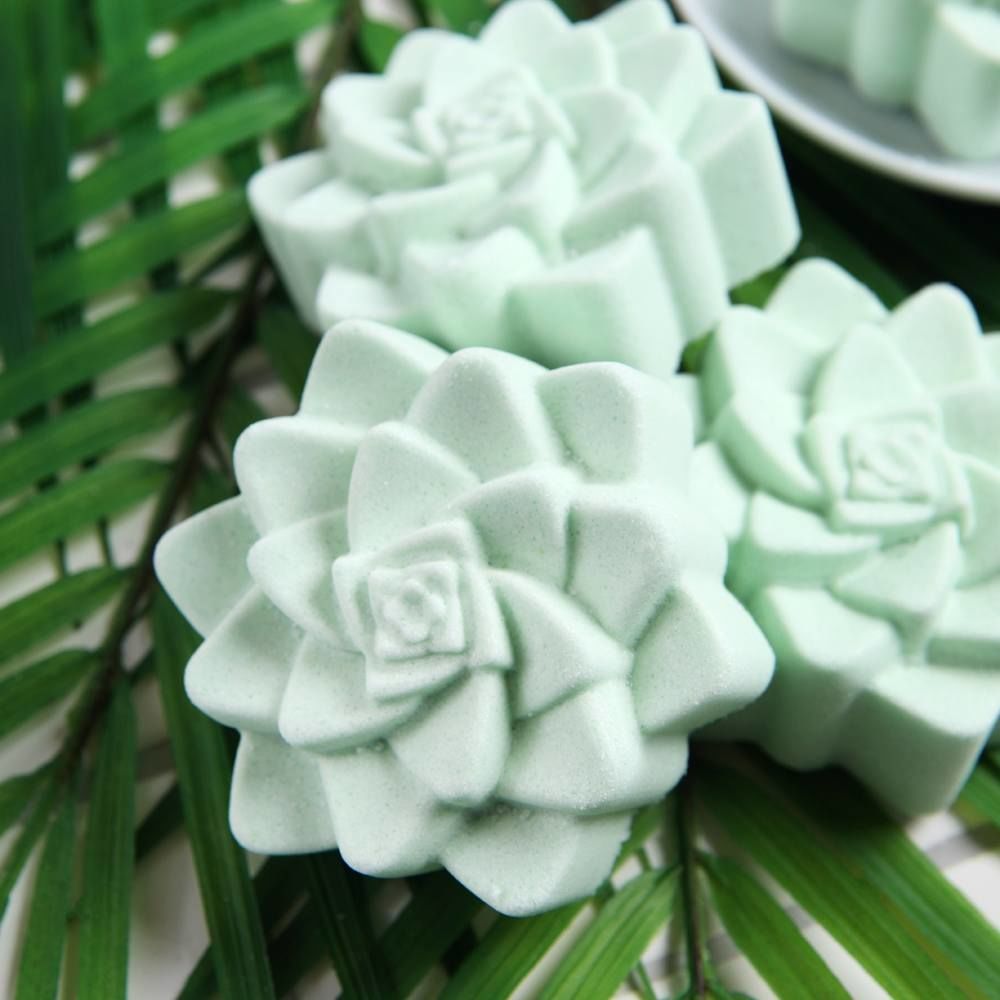
Silicone molds work as well, but we recommend opting for simple designs. Intricate details can break off when you remove the bath bomb. When we tried a recipe in the 6 Cavity Honeycomb Silicone Mold, we lost some of the honeycomb and bee details. The bath bombs were still fine to use, but it wasn't the look we were going for. Try smoother designs like the 6 Cavity Silicone Circle Mold and 9 Cavity Silicone Guest Rectangle Mold. We've even had good results with the Succulent Silicone Mold because it has larger details.
Another easy option is the Disk Mold & Package. Just like the multi-cavity molds, pack the bath bomb mixture in firmly. Then, clear any powder from the seams, let them dry, and pop the lid on.
Plastic Bath Bomb Mold & Package
This one can be tricky at first, but we think the end result is worth it. The mold creates a classic sphere shape and it doubles as packaging.
First, make sure your mixture is the right consistency and that you have a male and female side of the mold ready. Start filling both halves. Press the powder in firmly but not too much - if it's packed too tight the bath bomb may get stuck. Clear off any excess powder from the seams. Then, mound powder in the center of each half to help the sides stick together. Match the eyelets up and press the halves together by directing pressure on the seams. If you press on the top and bottom of the bath bomb it can cause dents. Let the bath bombs dry for at least 2 hours or up to overnight. See this technique in the Lily & Aloe Bath Bomb video below.
When you're ready to use, pull on the eyelets and remove the bath bombs. If they're sticking, slide your finger between the seams and try again.
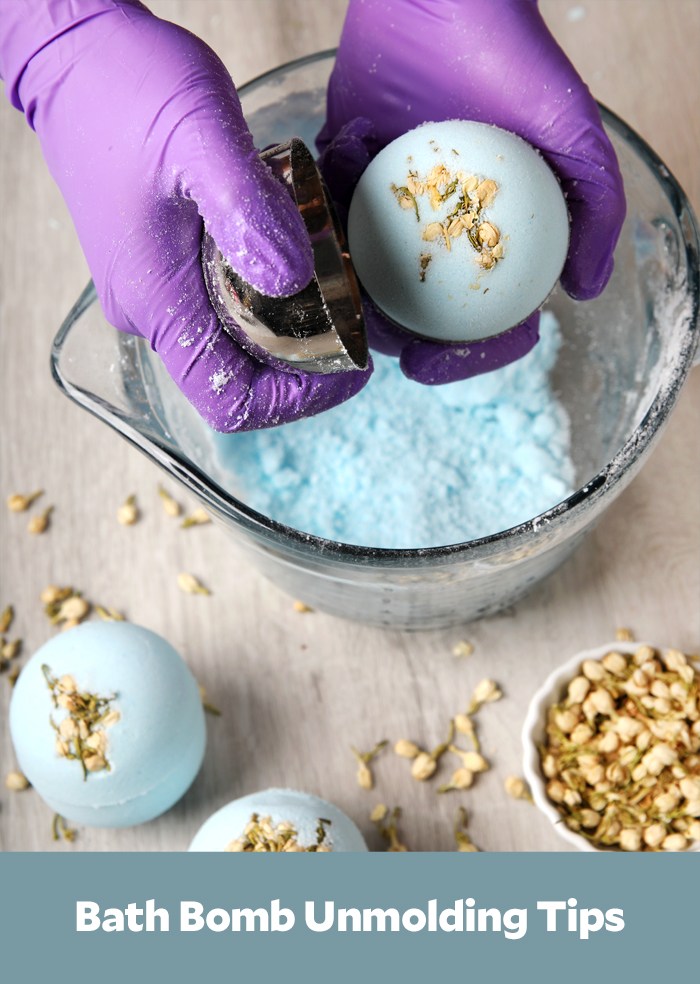
Stainless Steel Bath Bomb Mold
These create beautiful jumbo bath bombs. Like the round plastic molds, they do take some practice.
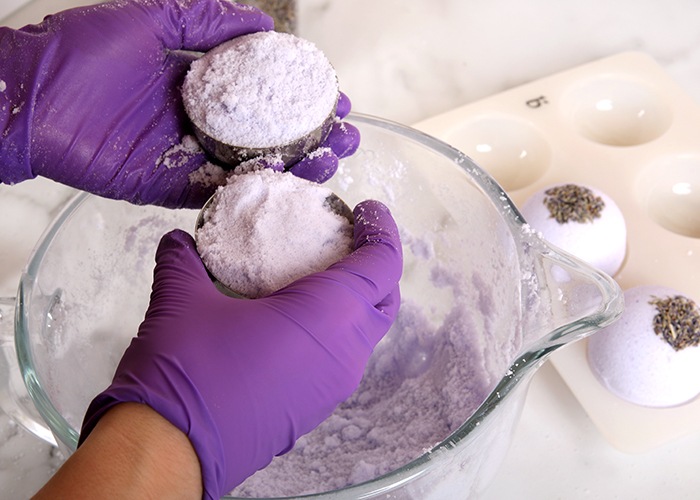
First, add a few drops of cyclomethicone to the mold halves, swirl it around to coat, and drain on a paper towel. This helps the bath bomb slide out easily. Adding an oil or butter to the recipe adds structure and helps the bath bombs hold their shape. You can use any you like - cocoa butter, shea butter, borage oil, etc. Start with about 1/4 teaspoon per cup of powder.
Pack the powder in firmly, mound some in the center of each half, and press them together. Carefully remove one of the halves with a slight twisting motion.
If you have multiple bath bomb molds, you can leave the bath bomb in the other half overnight. That ensures it holds its shape. If not, take the bath bomb out and place it on a soft surface like a blanket or egg carton foam. For the Relaxing Lavender Bath Bombs, we used the 6 Cavity Silicone Dome Mold.
When the bath bomb is dry, toss it in hot water and enjoy.
Ready to get started? Find bath bomb projects here!