Cherry Blossom Bath Bomb Project
- Skill Level: Beginner
- Time: 1 hour
- Yield: 6 bath bombs
Project Description
In addition to bath bomb essentials like baking soda and citric acid, this recipe has a touch of lotus flower extract. It adds moisture to the mixture, which can prevent crumbling. The extract also feels great on the skin. Polysorbate 80 is an emulsifier that helps the oil and color mix into the bath water rather than pooling on top.
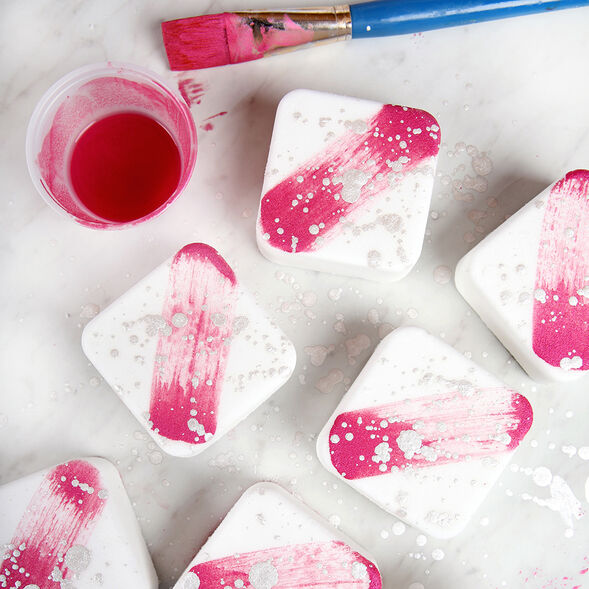
The paint is created by mixing mica and 99% isopropyl alcohol. Painting bath bombs can be messy, so you may want to lay down some newspaper to protect your work surface.
Need additional homemade bath bomb supplies? Check out these bath bomb kits.
You will need:
- 6 Cavity Silicone Square Mold
- 20 oz. Baking Soda
- 10 oz. Citric Acid
- 0.6 oz. Cherry Blossom Fragrance Oil
- 0.4 oz. Lotus Flower Extract
- 0.2 oz. Polysorbate 80
- Witch Hazel in a Spray Bottle
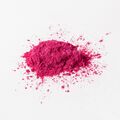
- Raspberry Mica
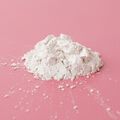
- Super Pearly White Mica
- 99% Isopropyl Alcohol
- Paint Brushes
Follow these steps:
1
In a large bowl, combine 20 oz. of baking soda and 10 oz. of citric acid. To get rid of clumps in the mixture, you can push the powders through a sifter or break them up with your fingers. Citric acid has a tendency to take off nail polish, so wear gloves to protect your manicure. Thoroughly stir everything together.
2
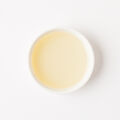
In a small glass container, add 0.4 oz. of lotus flower extract, 0.6 oz. Cherry Blossom Fragrance Oil, and 0.2 oz. of polysorbate 80. Use a spoon to mix all the liquids together.
3
Add the oil mixture to the baking soda and citric acid mixture. Use your hands to thoroughly mix everything together.
4
Test the consistency of the bath bomb mixture. The perfect consistency is similar to wet sand and holds its shape when squeezed. If it’s too dry, use one hand to spritz the mixture with witch hazel and one to mix. Continue spritzing until the mixture holds its shape.
5
Firmly press the bath bomb mixture into each cavity of the Silicone Square Mold.
6
Allow the bath bombs to dry for several hours or up to overnight. Remove from the molds.
7
In separate containers, mix about 0.5 teaspoon of Raspberry Mica and Super Pearly White Mica with about 1.5 teaspoons of 99% isopropyl alcohol and stir to get rid of clumps. The consistency of the mica paint is up to you. If you want a more saturated color, add a touch more mica. If you want a thinner, less saturated mixture, add more 99% isopropyl alcohol. Test the consistency on a paper towel or piece of paper.
8
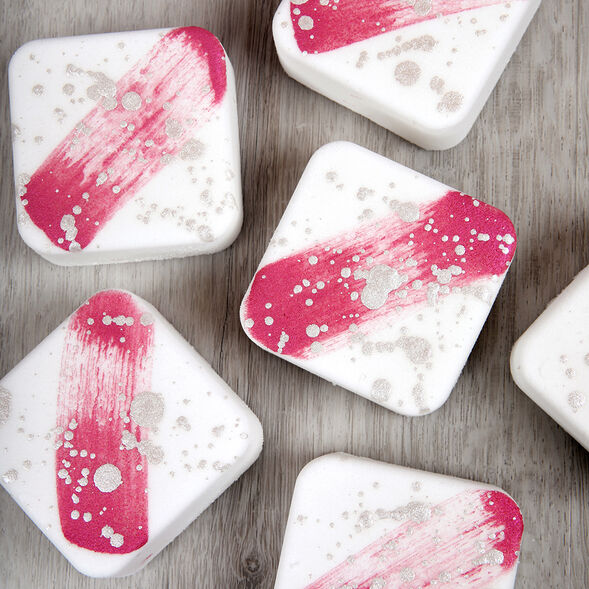
Create a streak of pink across each bath bomb diagonally with a flat and wide paint brush.
9
Use a different paint brush to splatter drops of Super Pearly White Mica on top of the bath bombs. There is no right or wrong way to do this, so have fun with it!
10
Allow the bath bombs to fully dry. When you’re ready to use, drop them into a hot bath and enjoy.
Tutorial credits
Photographer: Amanda Kerzman

