Flower with Big Dipper Wax Works and Life by Ritual has been making candles for more than 20 years. Learn more about how she got started in this interview. Over the next few months, Flower will be sharing her creative energy and beeswax expertise with you! She designed several candle projects for Bramble Berry and she'll be featured in upcoming videos. She's also collaborating with our creative team to bring you even more projects in the future.
In this article, Flower breaks down how to make beeswax candles from start to finish. Learn more about choosing a wick, adding fragrance, what temperatures work best, and what tools you need. With her tips, you'll be an expert in no time!
Find everything you need to make beeswax candles here.
Why beeswax?
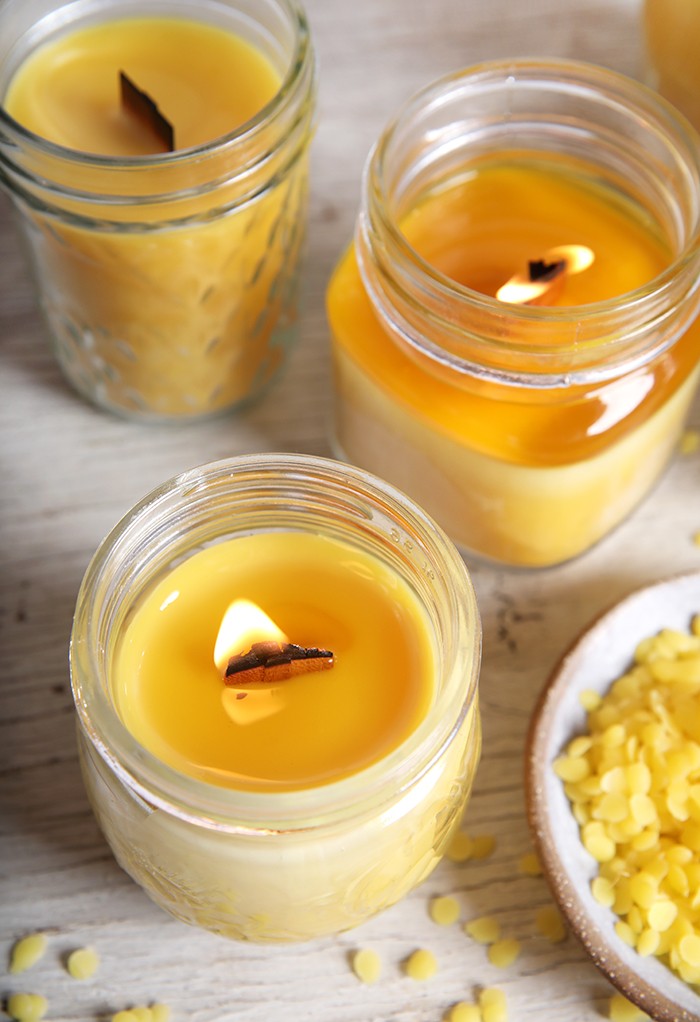
Beeswax is the least processed of all candle waxes and it comes from the sustainable industry of honey farming. It has a naturally-sweet smell and a brilliant golden light…what’s not to love? It is infused with the energy of the hive and contributes to the proliferation and health of honey bees, which are a keystone species. Bees are a primary pollinator to one third of the food crops in the United States. Without bees and other pollinators, the landscape of our lives would drastically change!
Bramble Berry offers 3 types of beeswax - Premium White Beeswax, Yellow Beeswax, and Premium Yellow Beeswax. They all work well for candles. Which one you choose is based on personal preference.
Choosing your candle container
There are a few different types of candles, including container, tapers, votives, and tea lights. Container candles are probably the most popular and easiest to make at home, so that's what we'll focus on here.
First and foremost, you want your container to be heat safe. Glass, ceramic, and tin are great options, plastic is not. You can also use recycled items like empty candle containers, salsa jars, and baby food jars. To see why we love container candles, check out 7 Reasons to Choose Container Candles.
In addition, I recommend containers under 3” in diameter. Larger than that, they tend to need a really big wick, which can create a smoky candle. I prefer to make candles that don't burn too hot but also consume all of the beeswax, a most precious resource! This is why wick choice is essential.
Choosing your candle wick
There are many wicks to choose from, including different sizes and materials like cotton and wood. The larger the diameter of your candle, the larger the wick will be.
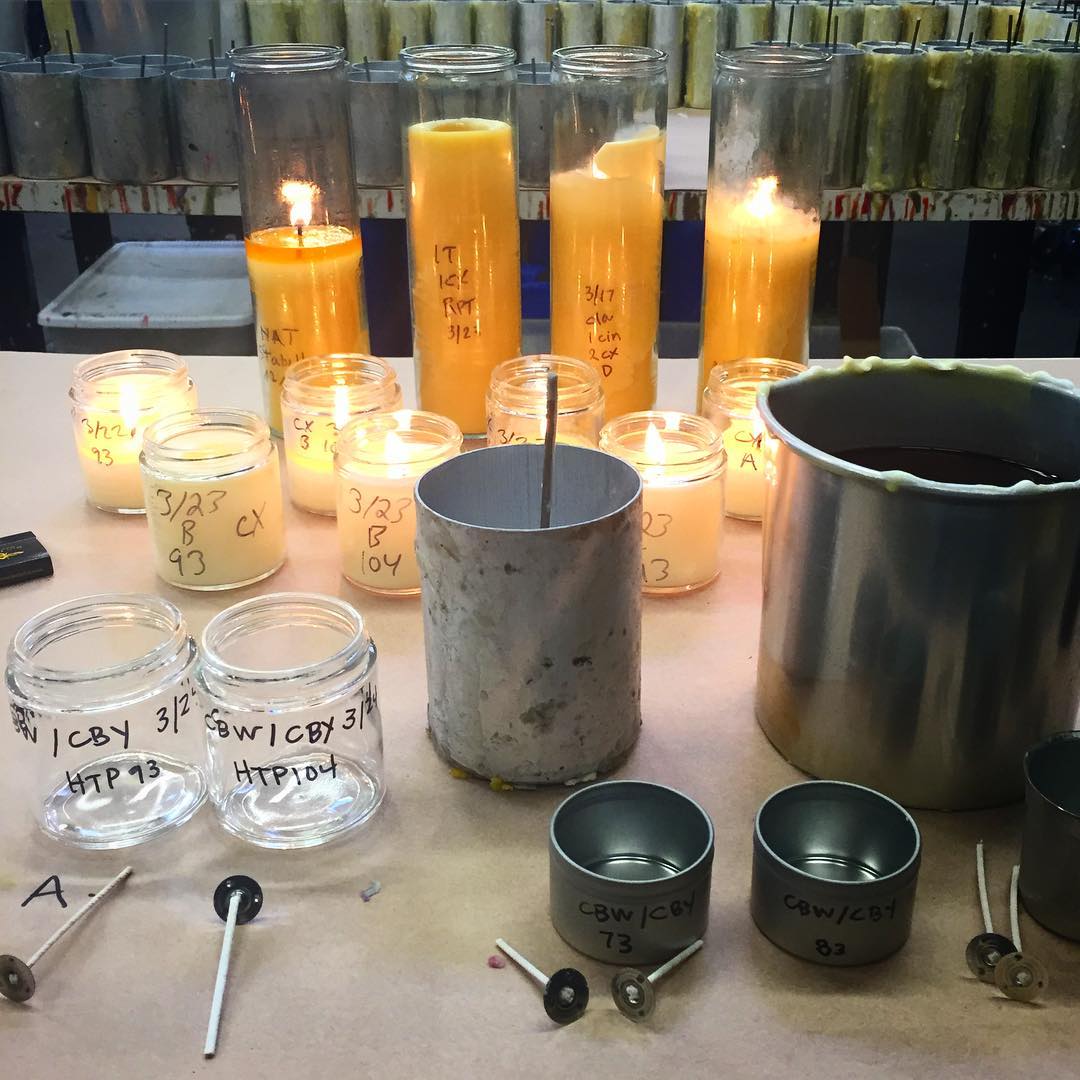
To find the right one for your project, start with the manufacturer's recommendations and then test, test, test. It's really the only way to know you have the correct size. I usually test candles by burning them an hour per every inch in diameter. If the wax pool reaches close to the edge, then you have found the right wick! If the outside of the container is too hot, if there's soot on the sides, or if the wick is tunneling down the center of wax and not burning the sides, it's time to try a different size. For more information on choosing candle wicks, read How To Pick Candle Wicks For Homemade Candles. We also have a Candle Wick Size Guide, and information about using wood wicks here: How To Use Wooden Wicks In Candle Making.
I like to cut the wicks to the size of the containers and then hold them in place with glue dots. You can also pour the wax in and then add the wick.
Melting beeswax
Now that we have the main ingredients, here are the tools I recommend:
- Candle or candy making thermometer
- Wax melter - a double boiler works great! This can be a small pot, a large glass Pyrex, or a candle pitcher that sits inside a larger pot with water on the stove. The use of a double boiler is important, as direct heat with beeswax can burn it and change the natural scent and color. You can also use a large Pyrex measuring cup in the microwave, but this takes a long time to melt the wax, as you have to heat it in bursts.
- A small propane or creme brulee torch - recommended but not required
- A small clamp to keep the pitcher from floating in the water - recommended but not required
To begin, spread newspaper or cardboard around the candle-making area. This helps with cleanup! Place a large pot on the stove and fill it halfway with water. Then, place your pot or pitcher in and place the clamps on if you have them. Turn the heat to medium and keep an eye on it. If the water boils, it can burn the wax or splash into the pot. Slowly drop your chunk of beeswax into the pot.
Now just let it melt! That can take anywhere from 10-30 minutes, depending on the size of your batch. Keep an eye on it the whole time, and adjust the temperature if you need to.
Adding fragrance to beeswax candles
You can use any fragrance or essential oil you like for candles. Test them to make sure you like the smell! In general, I use about 1-2 ounces of scent for every pound of beeswax. You may need to make a few test candles to find out what strength you prefer.
At Big Dipper Wax Works, we prefer to use only essential oils because they are all natural and truly the most quality way to scent your candles. I usually add them when the wax temperature has dropped to 160-165° F. The essential oils will coagulate in the wax, so a little stirring and possible gentle reheating may be required. Ultimately, you don’t want to burn the oils off by having them sit in hot wax for too long.
Pouring the candles
The best temperature to pour is 155-160° F. A rule of thumb is to allow the wax to cool enough to coat the sides of your pouring vessel and maybe even get a film over the top. The film can be gently torched before pouring.
Steadily pour the wax into your jar. Pour in one smooth motion - if you stop and then pour again, it can create a visible line. Place the wick in the center. Take a deep breath and enjoy the satisfaction of having made your first candle! Congratulations! Continue to fill containers until all your wax is gone.
Candle cleanup
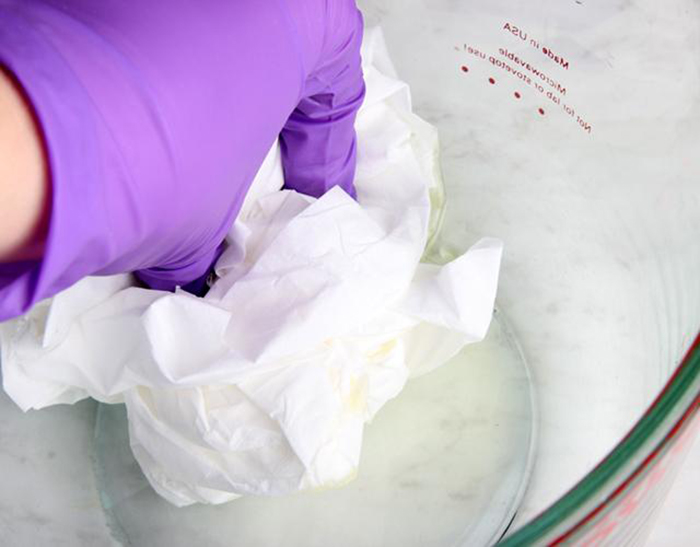
I usually put my candle-making supplies back into the double boiler and then wipe any remaining wax out with paper towels. Then, wash it with warm soapy water. You can also put your containers the freezer. This makes the wax contract and get brittle so it can be broken up and pulled out of the container.
Even with those steps, wax can stay on the sides of your containers and tools. I like having a container that's just for candles, so I don't have to worry about making it spotless.
Curing candles
There really is no cure time. The candles just need to fully cool and then they can be burned! I find that over time, essential oils will synergize and a blend may smell different in a few days.
Troubleshooting common candle issues
Most imperfections are caused by temperature. If the wax is too cool, it may harden into clumps and splash into the container as you pour. If it's too hot, it can crack or form air bubbles. The best way to prevent that is to pour the wax when it's 155-160° F, or when it has that film on top. You can use the creme brulee torch to gently graze the top of the candle and smooth out the surface.
If you notice ridges on the sides, try keeping your candle containers in a warm area like the top of the stove or in a box lined with paper. That way the wax doesn't harden unevenly.
The good news is, those imperfections are just on the surface. Your candle will still smell amazing and light up the room!
Making beeswax candles at home can be a fun and rewarding experience. It usually requires some experimentation, but when you discover how to make the perfect candles, it’s well worth the effort.
Check out our Candle Making Supplies List for Beginners, and these Candle Tips.
Ready to get started? Find beeswax candle making recipes here and beeswax candle making kits here.
