How to Create Your Own Lip Gloss
Ready to create beautiful, hydrating lip glosses that really shine? Our new Lip Gloss Base delivers that perfect glossy finish, and the best part? You can customize it with your own colors and flavors.
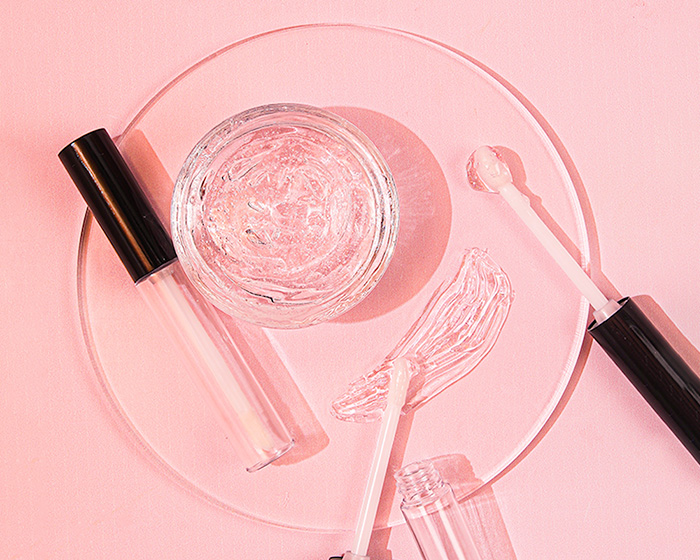
Our Lip Gloss Base
Our Lip Gloss Base has a smooth, non-sticky texture that glides on effortlessly and provides a beautiful, high-shine finish. One of the biggest benefits of this base is its ability to suspend pigments, micas, and flavor oils evenly, allowing for endless customization. It’s also hydrating and lightweight, making it comfortable to wear throughout the day.
Customization
Flavor Oil Guidelines:
Add up to 3% flavor oil for taste
Add up to 3% Lip Smacking Sweet Flavor Oil for sweetness
Pro tip: Flavor oils alone won't add sweetness, so we recommend pairing them with our Lip Smacking Sweet for the most delicious results
Creating Beautiful Colors
Transform your clear base into a gorgeous tinted gloss with these simple steps:
Color Dispersion Method:
Mix your mica colorant with oil at a 1:2 ratio (1 part mica to 2 parts lightweight, clear oil like Squalane)
Blend this mixture thoroughly until smooth (we recommend using a mini mixer)
Add your dispersed color to the base and mix well
This method ensures even color distribution without any streaks or clumps, giving you professional-looking results every time.

Adding Oil
Want to adjust the texture or add beneficial properties? You can incorporate up to 30% oil to the Lip Gloss Base. We highly recommend diluting your base with oil, as the base is extremely thick as-is.
For Thinner Consistency:
Capric/Caprylic Triglycerides
Squalane
Jojoba Oil
For Thicker Consistency:
Castor Oil
Mess-Free Mixing Method
Let's be honest – this base is thick and can be sticky to work with. But we've got some techniques that will save you time and cleanup:
The Syringe Method
- Place the tip of a Plastic Syringe into the customized lip gloss base. Slowly pull back the plunger and watch as the barrel of the syringe fills with lip gloss.
- Once you’ve filled your syringe, thoroughly wipe the tip.
- Place the tip of the syringe into your Lip Gloss Tube and begin filling.
- If you start to notice an air pocket forming that’s preventing you from filling the tube all the way, stop and shake or flick the tube to force the thick product to the bottom. You can also tap against a hard surface.
- Stop once you’ve filled the tube ¾ to the top. This will allow you to insert your applicator without overflow.
The Ziploc Bag Method:
- Spoon your base into a sturdy ziploc bag
- Add all your desired ingredients (flavors, colors, oils)
- Squeeze out all the air and seal the bag tightly
- Mix everything by squeezing and massaging the bag with your hands
- Once fully blended, cut a corner of the bag to pipe directly into containers or fill syringes
Tips for Success
- Always start with smaller amounts of additives – you can always add more, but you can't take them out
- Mix thoroughly to ensure even distribution of all ingredients
- Frequently wipe the tip of your syringe (if applicable) to avoid making a mess of your lip gloss tubes
- Wear gloves while working with the Lip Gloss Base to protect your hands from residue

Ready to start creating?
Our new lip gloss base opens up endless possibilities for your cosmetic creations. Whether you're making a simple clear gloss or a flavored and colored formula, this base provides the perfect foundation for professional-quality results.
Start experimenting today and discover just how easy it is to create lip glosses that rival those from high-end cosmetic brands. Your lips (and your customers) will thank you for the gorgeous, long-lasting shine!
Shop This Article