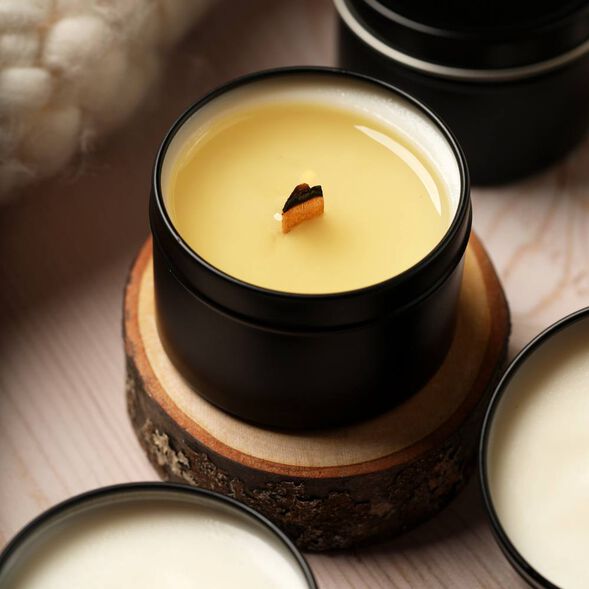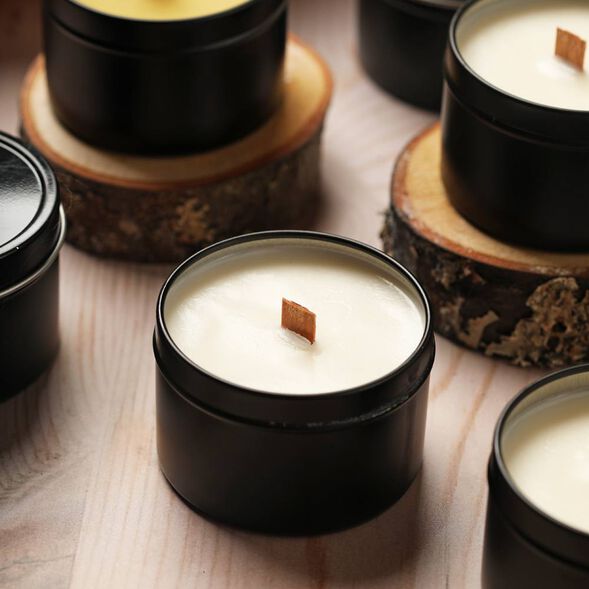
Birchwood Oud Candle Project
- Skill Level: Beginner
- Time: 2 hours
- Yield: 6 candles
Project Description
It's made with paraffin-free Coconut Soy Wax. The wax blend is easy to work with - it has minimum frosting and great glass adhesion. We recommend pouring at 135° F.
In our tests, we found this candle to have a light to medium hot throw. It's perfect if you don't like a strong scent, or if used in a small room.
Want more candle making supplies? Buy these DIY candle making recipes.
You will need:
- 6 Black Candle Tins
- 6 Short Narrow Wooden Wick
- 21 oz. Coconut Soy Wax
- 1.7 oz. Birchwood Oud Fragrance Oil
Follow these steps:
1
Place a half-filled pot of water on the stove, bring it to a low simmer, and nest a pouring pitcher or other heat-safe container inside. Add 21 ounces of Coconut Soy Wax. Allow the wax to melt.
2
Weigh 1.7 ounces of Birchwood Oud Fragrance Oil into a glass container. Once the wax reaches 185° F, remove it from the heat and slowly stir in the fragrance for 1-2 minutes to fully incorporate. Set aside to cool.
3
Place the wooden wick into its metal holder. Trim it to the correct size - make sure it's not in the way of the lids. Secure the wick to the bottom of each container using a wick sticker.
4
Once the wax is at 135° F, pour it slowly into the prepped tins.
5
Let the candles cool for 12-24 hours. Allow them to cure for 3-5 days so the fragrance completely bonds with the wax. Burn your candle until it reaches a full melt pool for best results.
Tutorial credits
Photographer: Amanda Kerzman


