Part of the joy of making homemade soap is all the designs you can make. If you follow soap makers on Instagram, for example, you may see all kinds of gorgeous colors and swirls and other designs, and you may even be a little overwhelmed and intimidated by them. Don’t worry, you can make beautiful soap, too. Here are some tips and some swirl techniques to help get you started.
Beginner soap swirl tips
To get you set up for success, here are some tips for creating beautiful swirls in your soap.
- Pay attention to trace: With these beginner swirls, the level of trace is less important. For example, a drop swirl done with soap at thin trace will look different than one made with thicker batter, but they both look great. When you’re learning these techniques it’s a great opportunity to pay attention and get a feel for how the batter thickens and what trace looks like.
- Get everything set up beforehand: When you’re swirling, you’re going to have to work quickly, because the soap thickens as you work. Get your colors into different containers and mix the colorants in before you get started pouring. It’ll help you get just the effect you want.
- Keep your stick blender and whisk on hand: You may still need to mix things up a bit while you’re working. Maybe you notice your colorant is not mixed in as well as you thought it would, or maybe you have to whisk up your soap batter to thin it a little. Either way, you don’t want to have to go rummage for or even wash your tools while your soap is waiting.
- Keep your cool: Soaping at lower temperatures can help keep your soap batter thin for longer, giving you more time to create those beautiful swirls. Try soaping at around 80 - 90 degrees fahrenheit.
- Experiment and keep an open mind: While some of your first swirl attempts may not be what you were expecting, usually they still look pretty awesome. Keep an open mind when thinking about success. Don’t be afraid to experiment and get creative. And appreciate the fruits of your labor for what they are. Taking risks and making mistakes is how we learn.
Okay, on to the swirls!
Creating in-the-pot swirls
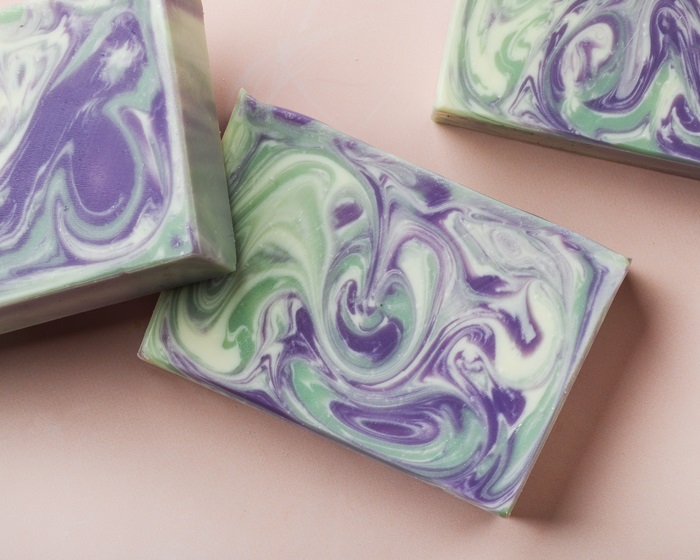
This is probably the easiest swirl technique there is! As the name suggests, in this technique the different colors of soap are swirled “in the pot,” or before the soap is poured into the mold. Batters swirled at thin trace will be whisper and finer than those at thick trace, which will tend to be bolder and thicker.
Here are the steps for performing an in-the-pot swirl:
- Once your soap batter has reached thin trace, separate around one quarter to half the soap into separate containers, one for each color.
- Add your colorants and mix well.
- Pour your colored soap batter back into the neutral colored pot.
- Give your soap a single stir. Remember, we don’t want to mix the colors together. Don’t worry if it doesn’t seem swirly enough just now, it’ll swirl more when you pour it.
- Pour your soap batter into the mold.
- You can use a skewer or other tool to swirl it a little more if and where it needs it. This is also a great time to add a little extra swirl on the top if you like.
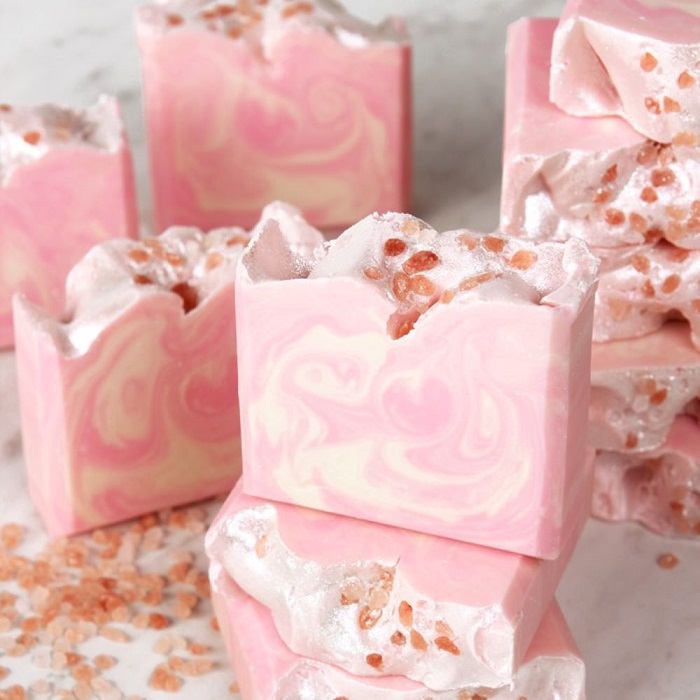
Our Rose Quartz Cold Process Soap Project uses an in-the-pot swirl and is a great way to learn this technique.
Performing a drop swirl
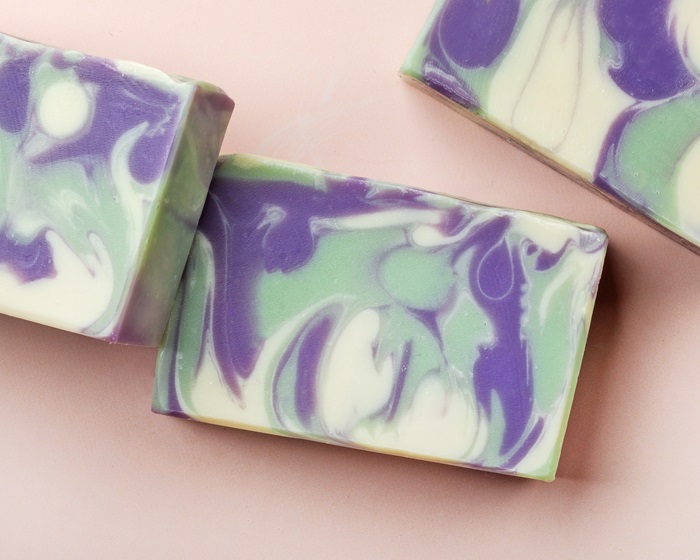
This is a very easy and fun swirl to use. The drop swirl involves pouring different colors of soap from different heights into the soap mold to create downward swirls, and it can make a lot of different kinds of swirls, too. This is a great one to experiment with as a beginner.
Here’s how you perform a drop swirl:
- Bring your soap batter to thin trace.
- Pour one quarter to one half of your soap into separate containers, one for each color.
- Mix the colorants into your soap.
- Pour your base color into the bottom of the soap mold.
- Pour the other colors on top of the base layer. They should drop through the top and swirl into the base.
- Thinner soap batters will produce wispy, more intricate swirls. Thicker batters will make bold, chunky swirls. Experiment with trace.
- Pouring at higher distances from the mold will make more dramatic swirls because the colored soap is entering the base with more force. Try a few different heights.
- Add a swirl or some texture to the top if you want.
For practice with the drop swirl technique, check out our Lime Swirl Soap Project.
Making a hanger swirl
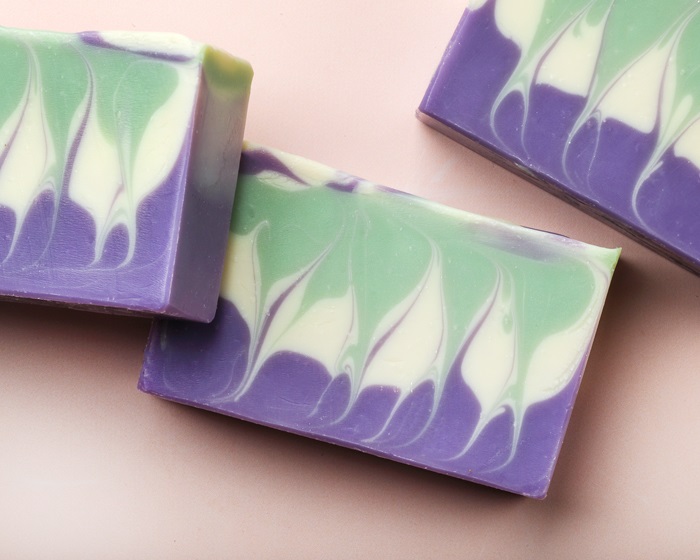
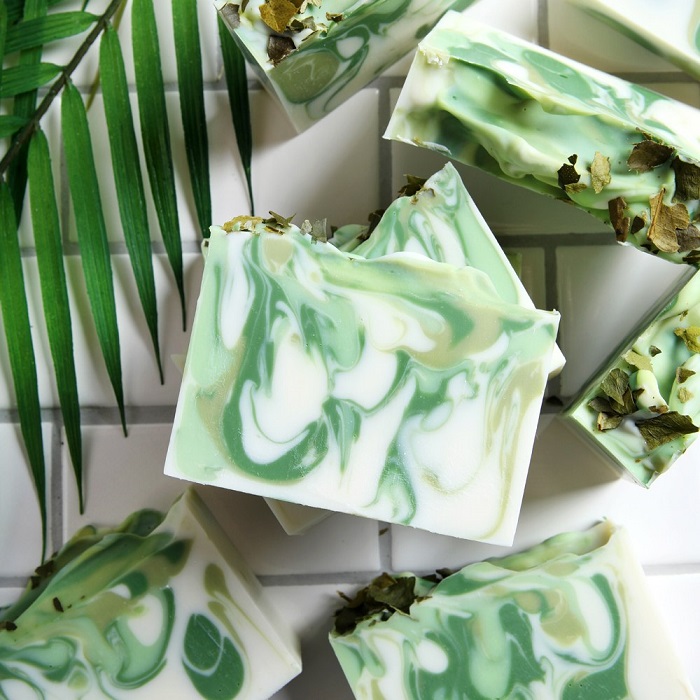
The hanger swirl is a versatile technique that can give you a lot of different designs, so it’s a great one to learn. It involves dragging a tool through layers of soap to swirl them together. You can use any flexible, lye safe tool for this, but we do have a wonderful hanger tool. It’s easy to use, easy to clean, and can be used with a lot of different molds. You just need a tool that will fit all the way across your mold with extra length on either side for you to hold. Bend the tool so that it’s the same length as your mold and bends up at the ends.
Here’s how to do a hanger swirl
- Bring your soap batter to thin trace.
- Separate the soap into different containers, one for each color you want to use.
- Mix your colorant into each container.
- Pour the soap in layers into your soap mold. You want the soap to be thick enough to support layers on top of it, so you may need to blend a little extra before pouring.
- Once you have all your layers poured, insert the hanger tool on one side of the mold.
- Slowly and gently drag the hanger through your soap layers. You can do up and down movements, even things like diagonal zig zags. To keep the soap top one even color, avoid breaking the top of the soap.
- Once you’ve completed your design, carefully lift the tool up the side of the mold and out of the soap batter.
Practice the hanger swirl technique with our Pumpkin Sandalwood Soap Project.
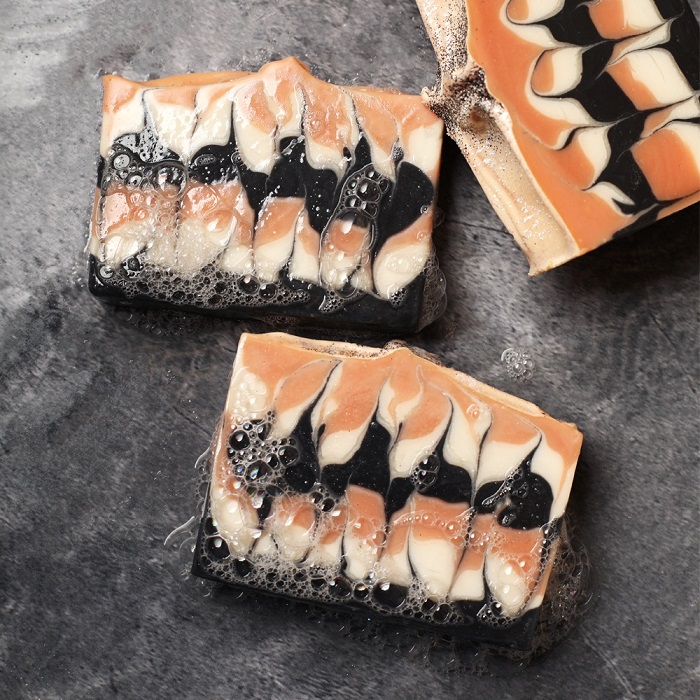
With these three swirl techniques, you can make gorgeous soap designs. You can even combine swirl techniques to make unique designs. With practice, these techniques will give you the understanding of trace and color and swirling that you need to move on to more advanced techniques, too. There’s so much you can do with soap as an artistic medium. All you have to do is get creative.

