Melt and pour soap making is a fun way to make your own soap at home. It is easy to customize melt and pour soap with colors, fragrances, and textures. Swirling different colors is a popular and beautiful design choice for melt and pour soap, but it can be a little tricky. Fortunately, we’re here to give you all the tips and tricks you need to start swirling melt and pour soap like a pro.
What is melt and pour soap?
Melt and pour soap is a form of soap making that involves working with premade soap bases. These bases are cut into small pieces, melted, customized, and then poured into a mold to cool. The soap then cools and hardens, and can be removed from the mold. Unlike cold process soap, melt and pour soap is ready to use as soon as it’s fully hardened.
Because you’re working with premade bases and not making your own soap from scratch, melt and pour is often considered a beginner project. This is because you’re not making your own soap from scratch with oils and lye, and because you don’t have to wait 6 weeks for the soap to cure.

Why use melt and pour?
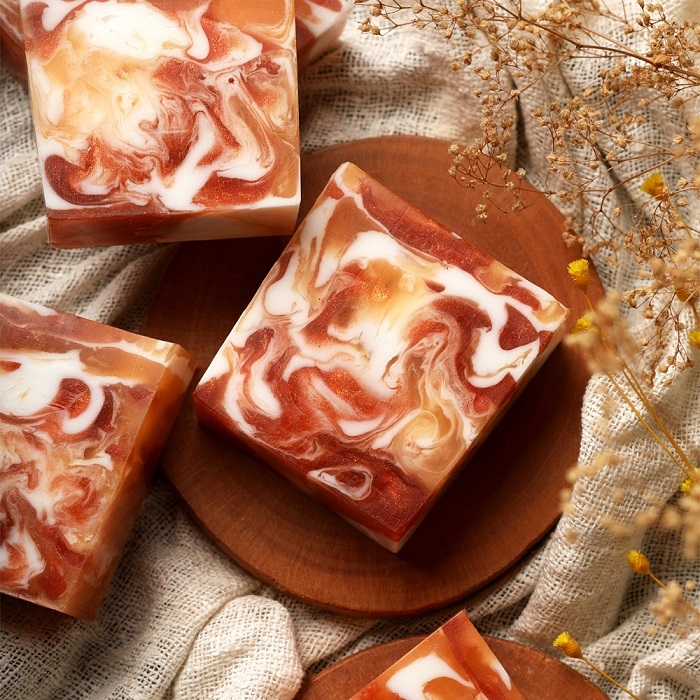
In addition to it being easier than cold process soap, melt and pour allows you to create some interesting designs. The texture of the melted soap base is quite thin, while cold process soap tends to have the texture of cake batter. This plus the quick cooling time gives you more design options, but it can also make swirling a little more challenging. Let’s take a look at how to swirl melt and pour soap.
Understanding temperature
The key to swirling melt and pour soap comes down to temperature. As your melt and pour soap base melts, it changes from a solid into a liquid. Once melted, the soap is typically around 130 -150 degrees fahrenheit. Once it’s melted, it starts to cool and will slowly thicken.
Pouring the melted soap at the right time is the key to swirling. It’s important to note that all melt and pour soap brands behave differently because they contain different ingredients. Our melt and pour bases contain a lot of glycerin and skin-loving oils, so they feel great on your skin and are easier to work with than other brands.
The hotter the soap is, the more liquid it is, and the more it will swirl together. As the soap cools, it gets thicker, and the colors tend to stay more separate. Let’s take a look at how this impacts swirled melt and pour soap.
- From 140-150 degrees, the colors swirl together a lot and the swirls become quite wispy. You’ll notice that there are areas where the different colors of soap will mix rather than swirl.
- At around 120 -130 degrees, the colors will be a little more separate and not blend together, so you’ll see more defined swirls.
- At 110 - 120 degrees, the soap colors stay almost completely separate, with little to no blending. The colors may even stay on the same sides of the mold that they were poured into.
So you can see how important temperature is in getting the look you want with melt and pour soap. If you’re planning on swirling melt and pour soap, it’s best to have a thermometer so you know when to pour your soap for the best results.
Another temperature concern is making sure that you don’t overheat the soap. Melt and pour soap can scorch if it becomes too hot. Overheating can cause the soap to take on a gloopy texture, making it hard to pour. You also want to avoid having to heat the soap too many times, as this can also change the texture.
Understanding how melt and pour soap behaves at different temperatures can take a little practice and patience. Just remember, all your swirls look great, and your soap is still amazing and great for your skin.

Soap base color and opacity
The color and opacity of your melt and pour soap also affects the final look of your swirled soap. There are a variety of melt and pour bases, but generally speaking you’ll have opaque soap bases and translucent soap bases to choose from. Our goat milk base, oatmeal base, and buttermilk base are opaque, while our aloe base and our honey base are translucent.
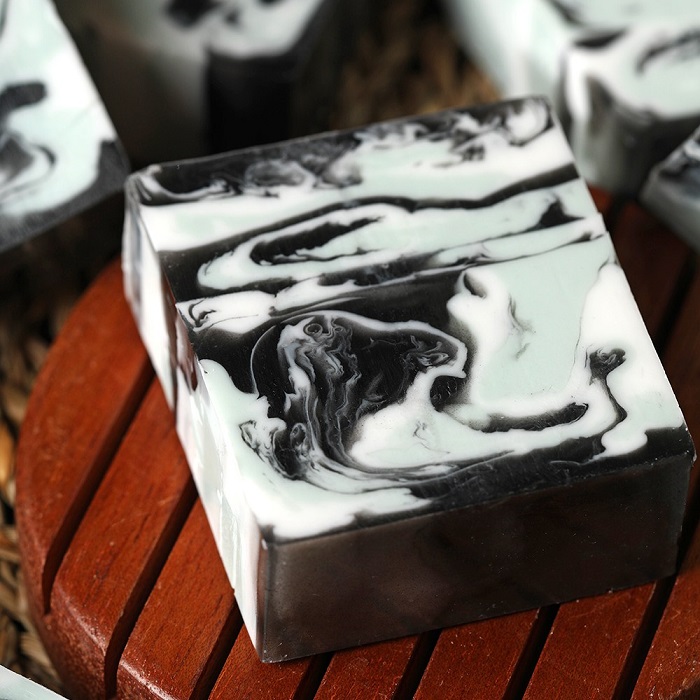
Subtle swirls look great, but in general, your swirls will look the most striking when there’s a lot of contrast between the two soaps. When you color translucent soap bases, the color tends to be more saturated and darker than in opaque soap, and swirling that intense color with a lighter color results in more contrast.
For example, a black translucent soap base swirled with a white soap base has a lot of contrast and looks very bold and striking.
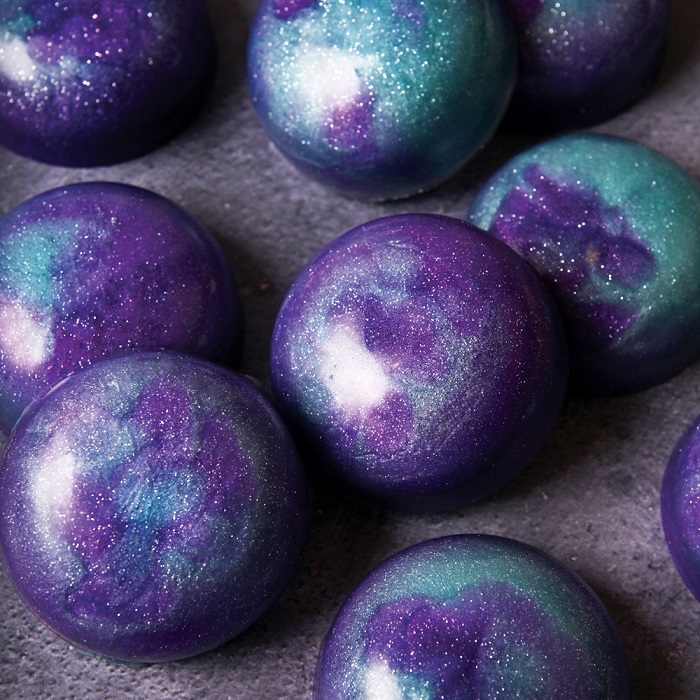
When two different colors of opaque soap base are swirled together, they’ll both be a light shade, and the results will be more subtle. It looks beautiful and might be just the look you’re going for. For example, our Celestial Soap Kit relies on that subtlety to get that beautiful night sky look.
Both of these swirls are beautiful, but you can see how the opacity of the soap base impacts your design.

Layering in a loaf mold vs individual cavities
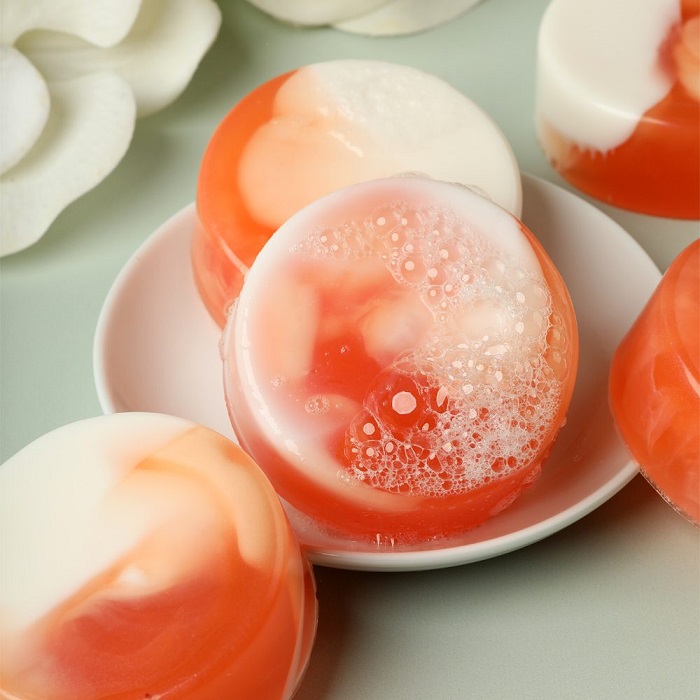
Swirling in a loaf mold versus individual cavities works a little differently, too. Typically when swirling in individual cavity molds, like our 6 cavity circle mold, the swirl is usually done in one pour.
When swirling the soap in a loaf mold, like our 10” loaf mold, you also need to layer a little bit. The soap needs to cool slightly between each pour. Swirling in a loaf mold takes a little more patience than individual cavity molds.
The other basics are the same: pouring at the right temperature and taking the soap base opacity into account. Begin by pouring a small amount of the two colors into the mold and allowing them to swirl together. Let this layer cool slightly; it will start to harden and form a skin. This allows you to continue pouring and swirling. Swirling melt and pour soap in layers like this allows you to create more distinct layers rather than mixing all the soap together.
This process can take some time, and while the layers in your loaf mold cool, your unpoured bases will also start to cool.
Cover them with plastic wrap to help them retain heat, reducing the need to reheat them.
Once that skin has formed over the previous layer, you just pour another one. Keep going until your mold is full. Part of the fun is that you don’t have to be super precise. Heat your unpoured soap base in 10-20 second bursts if it gets too thick to pour, and keep going.

These are our top tips for making beautiful swirls in your melt and pour soap project. Melt and pour swirls will alway look a little different than swirls in cold process soap because of the difference in texture, but embrace that difference as a beauty all its own. All that’s left to do now is get creative with swirling melt and pour soap and make something beautiful.

