Painted Rose Bath Bomb Project
- Skill Level: Intermediate
- Time: 2 hours
- Yield: About 28 bath bombs
Project Description
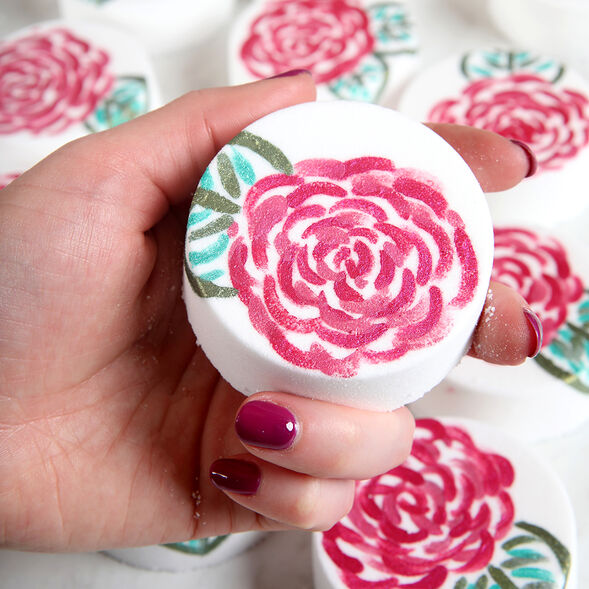
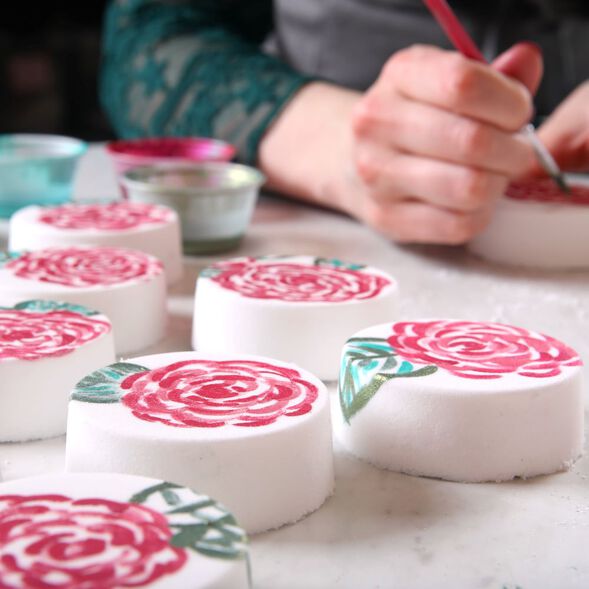
Painting the flowers on takes a little practice and some minor art skills come in handy. After a few tries you’ll get the hang of it – each bath bomb will have your own personal spin.
The bath bombs are made with Wild Rose Fragrance Oil, which is a fresh take on a classic scent. A touch of lotus flower extract gives the bath bombs moisturizing and skin-loving properties. Polysorbate 80 is an emulsifier that helps the oils and micas mix into the bath water.
This project is easy to customize with different colors or designs. We recommend inviting a few friends over – the recipe makes a lot of bath bombs, so they’re fun to paint with a group.
Check out more fun bath bomb recipes and kits.
You will need:
- About 28 Disk Bath Bomb Molds
- 64 oz. Baking Soda (Sodium Bicarbonate)
- 32 oz. Citric Acid
- 1 oz. Lotus Flower Extract
- 1 oz. Wild Rose Fragrance Oil
- 0.6 oz. Polysorbate 80
- Witch Hazel in a Spray Bottle
- Mica Painting:
- Fine-Tipped Paint Brush
- 99% Isopropyl Alcohol
- Evergreen Mica
- Shamrock Green Mica
- Rose Gold Mica
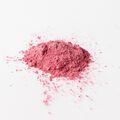
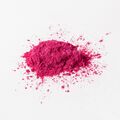
- Raspberry Mica
Follow these steps:
1
In a large bowl, mix together 64 ounces of baking soda and 32 ounces of citric acid. To get rid of clumps in the mixture, you can push the powders through a sifter or break them up with your fingers. Citric acid has a tendency to take off nail polish, so wear gloves to protect your manicure. Thoroughly stir the ingredients together.
2
In a small glass container, mix together 1 ounce of lotus flower extract, 1 ounce of Wild Rose Fragrance Oil, and 0.6 ounces of polysorbate 80. Use a spoon to mix all the liquids together.
3
Add the oil mixture to the baking soda and citric acid mixture. Use your hands to thoroughly mix.
4
Test the consistency of the bath bomb mixture. The perfect consistency is similar to wet sand and it holds its shape when squeezed. If it’s too dry, use one hand to spritz the mixture with witch hazel and one to mix. Continue spritzing until the mixture holds its shape.
5
Press the bath bomb mixture firmly into the molds. Only fill to the bottom lip or the lids won’t fit.
6
Allow the bath bombs to dry for several hours or up to overnight. Remove from the molds. It’s time to paint.
7
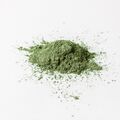
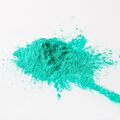
In small separate containers, mix together about 1.5 teaspoons of Evergreen Mica, Shamrock Green Mica, Raspberry Mica, and Rose Gold Mica with 1 tablespoon of 99% isopropyl alcohol. Stir the micas together to get rid of clumps.
NOTE: As you paint, you may find that you need to add more alcohol or mica to the containers. Adding more colorant will make the mica paint more concentrated and thick. More alcohol will make it thinner and more likely to bleed. Feel free to adjust the mixture until you’re happy with the texture.
8
Dip the paint brush into the Raspberry Mica. Start painting small curved lines to create the center of the rose. Continue painting these lines outward in a circular pattern.
9
Use the same technique with the Rose Gold Mica to create a full rose with plenty of petals. There’s no right or wrong way to paint the rose. Have fun with it!
10
Once you’re happy with the rose, use the Evergreen Mica to create a leaf. We chose to extend the leaf to the sides of the bath bomb as well.
11
Use the Shamrock Green Mica to add a pop of color to the leaf.
12
Have fun experimenting with different looks and rose designs. Once you’re finished, gently place the bath bombs back into the Disk Molds for storage. Once you’re ready to use, place the bath bomb into a hot tub and enjoy.
Tutorial credits
Photographer: Amanda Kerzman

