Melt and Pour
Melt and Pour
Viewing:
1 - 12 of
51
Items
-
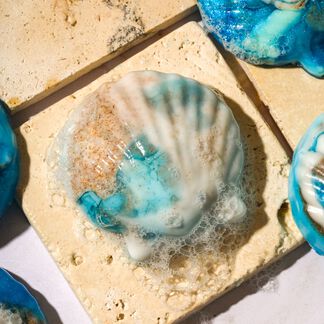
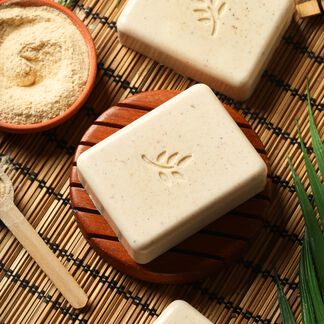
Intermediate4 bars of soapMade with aloe melt and pour soap and a touch of walnut shells, these Shell Soaps moisturize and exfoliate the skin.
-
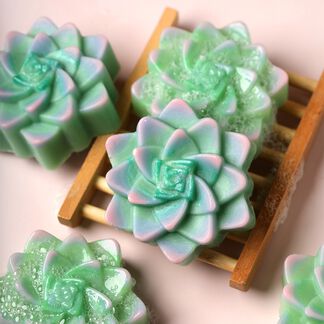
VIDEOIntermediate4 bars of soapCreate colorful succulent soaps made with hydrating Aloe Vera Soap Base!
-
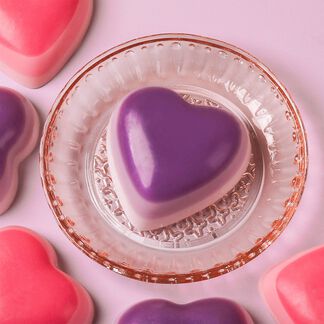
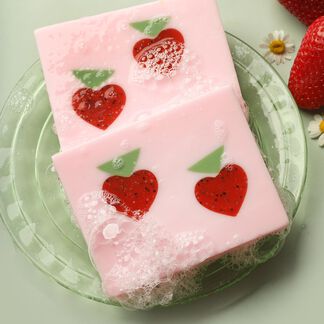
Beginner6 bars of soapShow your love with these adorable Ombré Heart Melt and Pour Soaps!
-
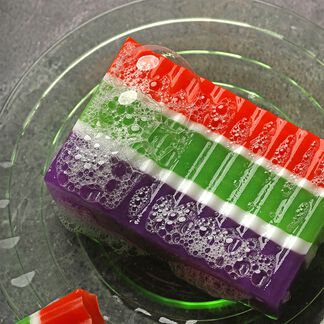
IntermediateAbout 3 pounds of soapClassic Halloween colors are layered together to create a festive soap.
-
IntermediateAbout 3 pounds of soap
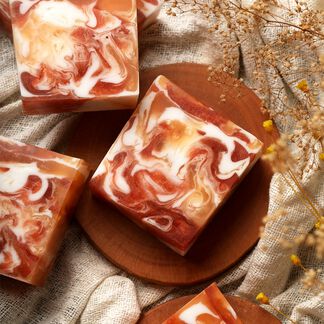
This swirly melt and pour soap project screams fall with a cozy scent, pumpkin powder, and a bit of sparkle.
-
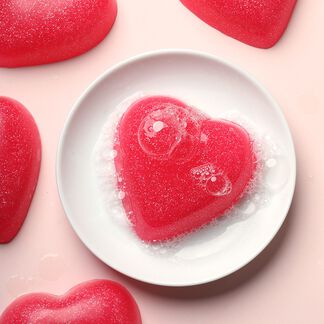
Beginner5-6 bars of soapThis Pretty Pink Soap was inspired by Barbie with plenty of pink, glitter, and a cute heart shape.
-
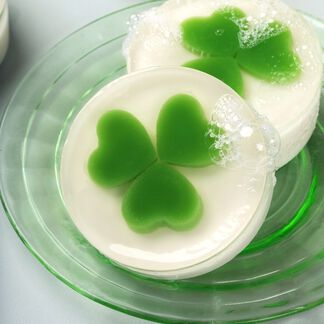
Intermediate6 bars of soapThese adorable Shamrock Soaps are a great way to celebrate St. Patrick's Day, or just bring a little luck all year round!
-
Beginner6 bars of soap
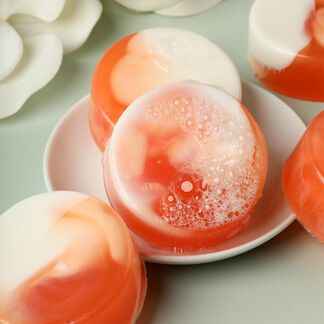
These bars are easy to make, and smell amazing. They are scented with Gardenia Peach Fragrance Oil, which is a blend of juicy peach and soft florals.
-
VIDEOIntermediateAbout 2 pounds of soap
This adorable soap is perfect for spring and summer!
-
Beginner4 soaps
This Baobab and Jojoba Soap is simple, yet packed with skin-loving ingredients.
-
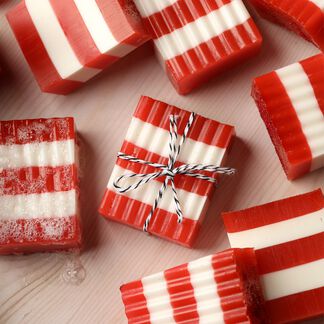
VIDEOIntermediateAbout 3 pounds of soap
This Candy Cane Soap project is a classic for the holidays and makes a great gift.
-
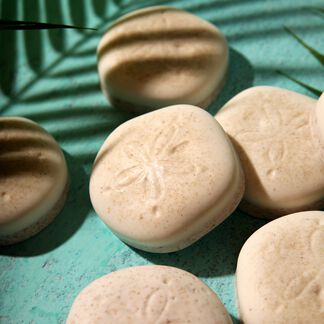
VIDEOBeginner4 soapsThese bars are made by adding walnut shells to oatmeal soap base. They smell like vacation thanks to Coconut Paradise Fragrance Oil.


