Garden Loofah Soap
- Skill Level: Beginner
- Time: 1 hour
- Yield: Twelve 4 oz. bars
Project Description
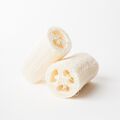
Loofah sponge is a natural product that scrubs away dirt and adds a unique look to soap. When they’re dry, they’re quite hard and brittle. Once they’re introduced to water, they soften and have a great scrubby texture for skin.
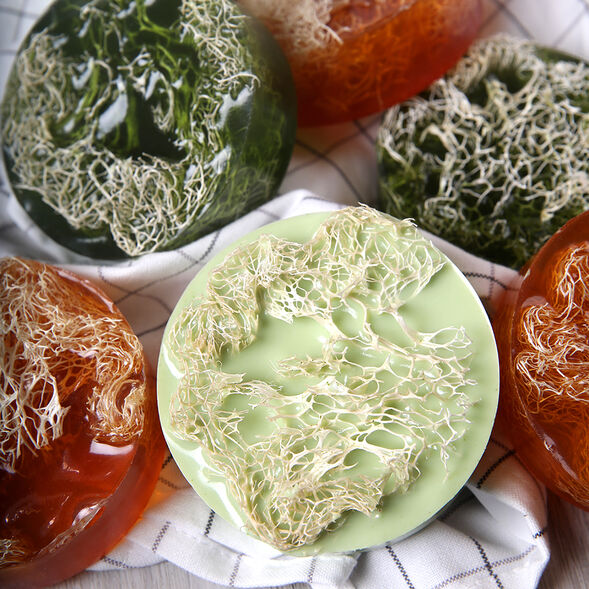
For this recipe, loofah sponges are soaked, cut, and placed in the 12 Bar Round Silicone Mold. Melt and pour soap colored with spinach and tomato powder from the Farmers Market Collection is poured on top of each one. To complement the earthy look, it’s scented with Lush Succulent Fragrance Oil.
You will need:
- 12 Bar Round Silicone Mold
- Loofah Sponge
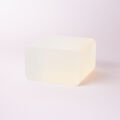
- 32 oz. Clear Melt & Pour Soap Base
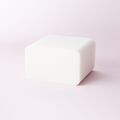
- 16 oz. White Melt & Pour Soap Base
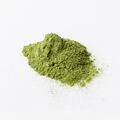
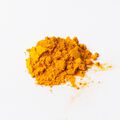
- Spinach Powder
- Tomato Powder
- 0.9 oz. Lush Succulent Fragrance Oil
- 99% Isopropyl Alcohol in a Spray Bottle
Follow these steps:
1
Prepare the loofah sponge. Bramble Berry’s loofah is flat until it’s dunked in water, then it softens and expands. We find that the sponges are easier to cut once they have expanded, as they are softer and it’s easier to see their shape.
Dunk the loofah sponges in water until they expand. Because they are a natural product, some loofah sponges are larger than others.
2
Squeeze out any excess water. Using a sharp pair of scissors, cut the loofah into round shapes. It helps to tightly squeeze the sponge to make it more compact while cutting. Try your best to cut the loofah so it’s slightly taller than the depth of the silicone mold cavities.
TIP: If you cut it a little too thin, place a small piece of loofah into the mold cavity and set the thin loofah piece on top. This will help lift the loofah up so the soap doesn’t completely cover it.
3
Place each round into a mold cavity. If the loofah sponge is large, you may want to cut it in half. Place the mold on a cutting board and set aside.
4
Chop 32 ounces of Clear Melt and Pour Soap Base and 16 ounces of White Melt and Pour Soap Base into small uniform pieces. Place all of the white soap into a heat-safe container. Split the Clear Melt and Pour Soap Base into 2 heat-safe containers – each should contain 16 ounces.
5
In separate containers, disperse 1 teaspoon of spinach powder into 1 tablespoon of 99% isopropyl alcohol and 2 teaspoons of tomato powder into 2 tablespoons of 99% isopropyl alcohol. Mix together. Dispersing the colorants helps prevent clumps.
6
Melt each container of melt and pour soap using 30 second bursts, stirring in between each one. Once they are all completely melted, add 0.3 ounces of Lush Succulent Fragrance Oil to each container and mix in thoroughly.
7
To the melted white soap, add 1.5 teaspoons of dispersed spinach powder. Then, add 1.5 teaspoons of dispersed spinach powder to one of the containers of melted clear soap. Finally, add all of the dispersed tomato powder to the last container of melted clear soap. Thoroughly mix in all of the additives.
8
Pour each color of soap into 4 cavities of the mold. Each cavity will be filled to the very top. After each pour, spritz the soap with 99% isopropyl alcohol to help get rid of bubbles.
TIP: The tomato powder tends to fall to the bottom if the soap is too hot and thin. To prevent this, pour the soap once it has cooled to about 120-125° F.
9
Allow the soap to cool and harden for several hours, up to overnight. Once they have cooled and hardened, remove them from the mold and enjoy. To help prevent glycerin dew, wrap the soap in plastic wrap.
Tutorial credits
Photographer: Amanda Kerzman

